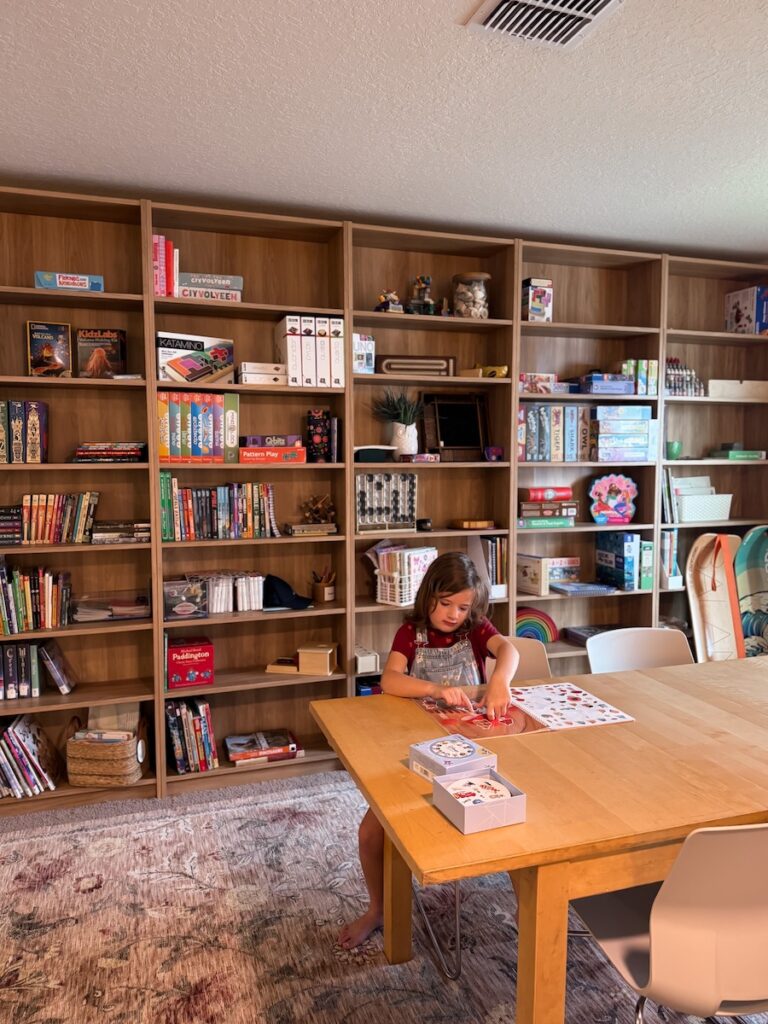
The built-in bookshelves for our living room turned hidden game room are built and I am in love!
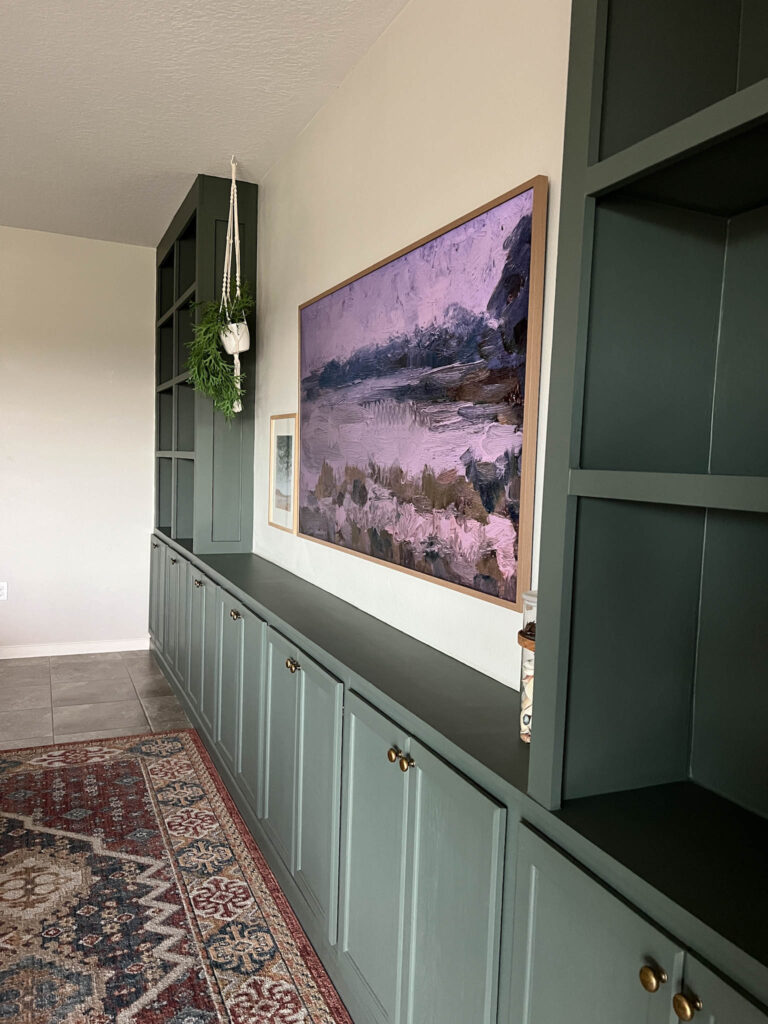
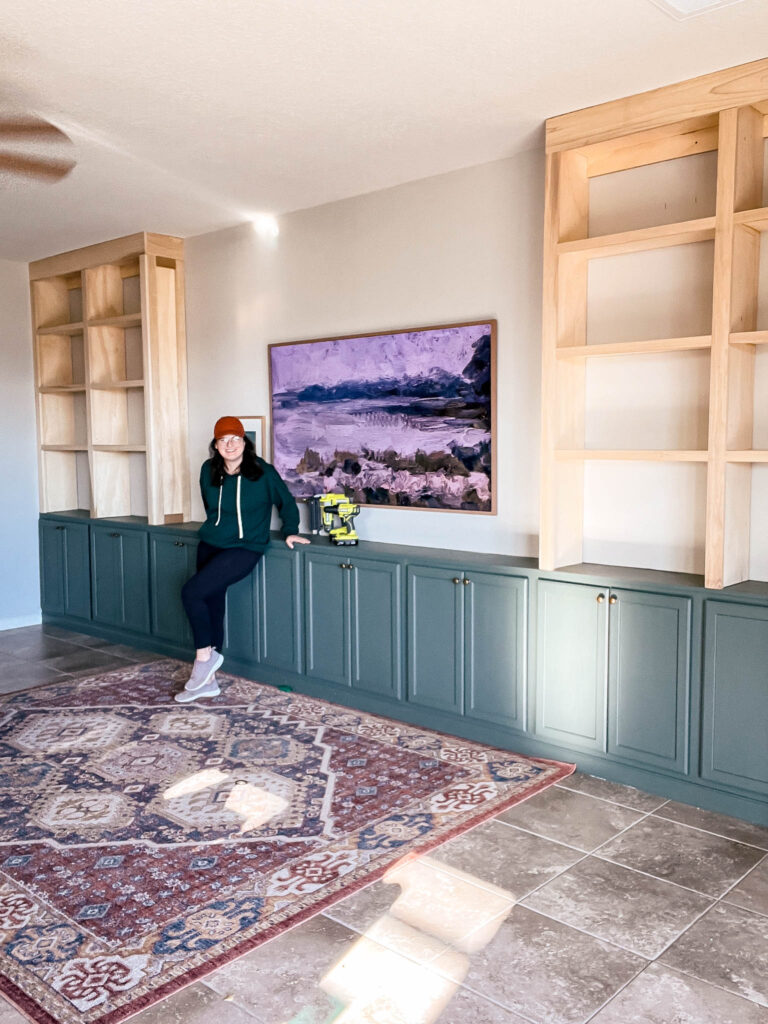
This has been a labor of absolute love and I couldn’t be happier with them. Just look at how huge they make the room look — they give the room a whole new vibe and I can’t believe the difference.
I thought the cabinets were great, but the shelves bring a whole different personality to the space. Going all the way to the ceiling with them makes such a huge impact. The room feels bigger, more grounded, and definitely more lived in.

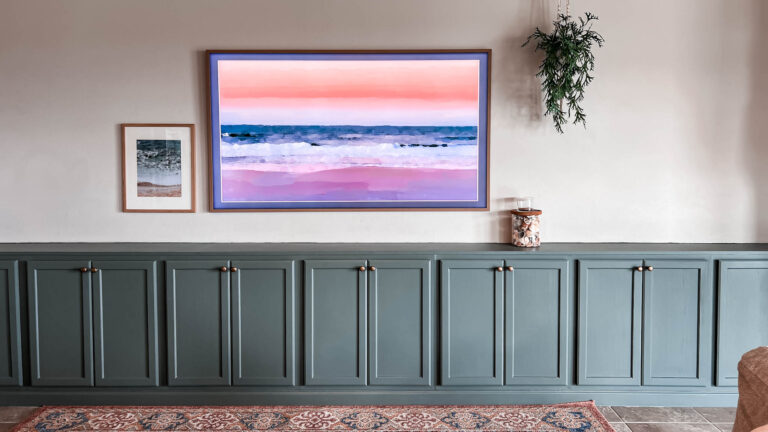
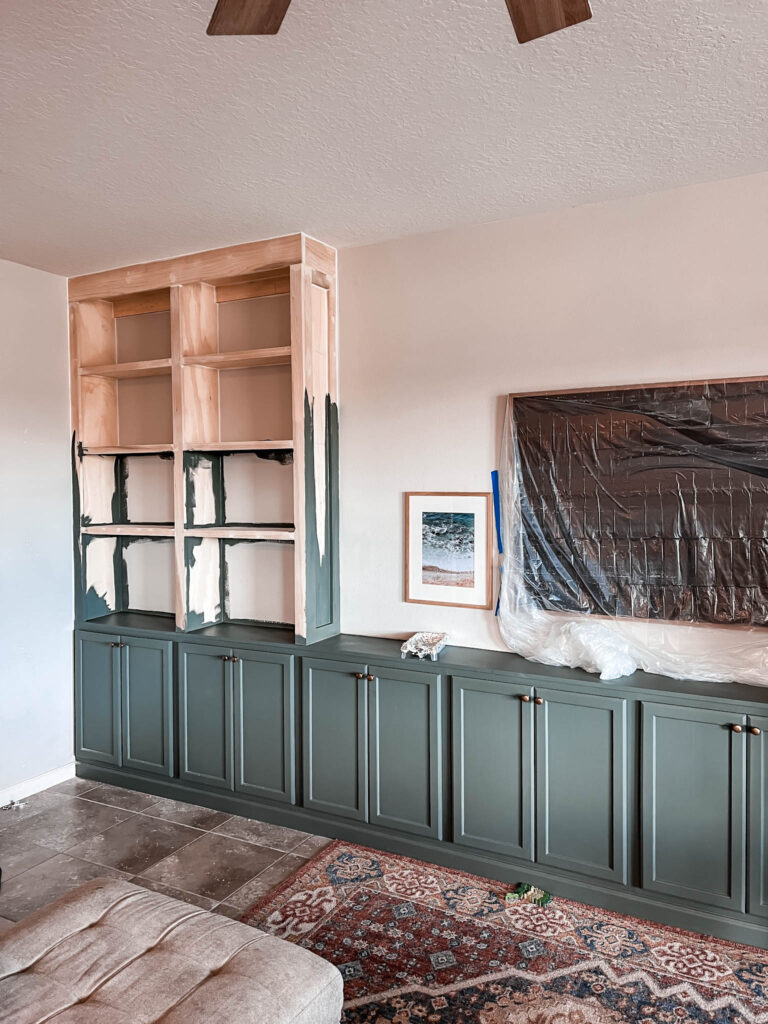
Where we started…
To remind you of where we started, this is what the room looked like just three months ago. We lived with it like this for over a year while I plotted, planned, and designed a way to use this wall that would both make an impact for our builder basic home, while also serving our family’s needs. We needed more storage, but also wanted to create a space that would be ready for us to enjoy our evenings together doing what we loved.
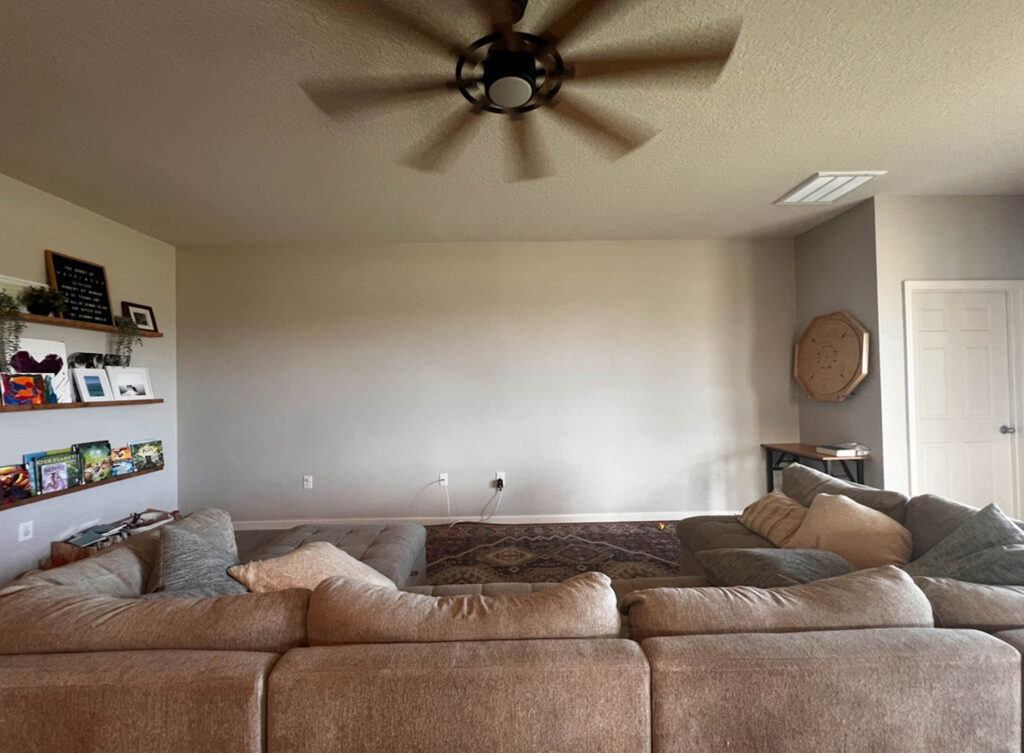
I wanted a space that would be perfect for game nights but I didn’t want the games visible. I didn’t want the room to scream “GAME ROOM” when people walked in. It’s our primary living space so it needs to be able to pull not just double duty but all the duties!
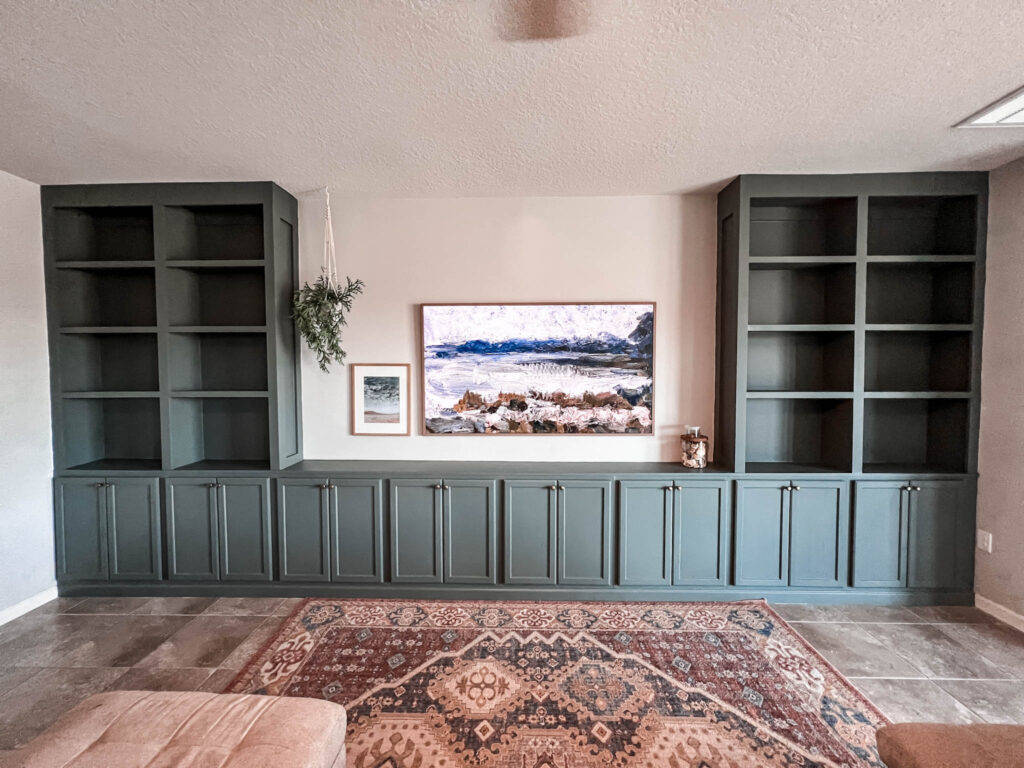
I began building the project last October which I detailed in this blog post. It all started with the lower cabinets. In order to not lose too much floor space, I built a base for upper cabinets to sit on and sat 8 of them wall to wall.
Then over Christmas break I finally had enough time with Adam home and family off work to help with the kids and build the shelves.
To say I was stressed was an understatement. This is easily the biggest project I’ve ever taken on and I wanted to get it right.
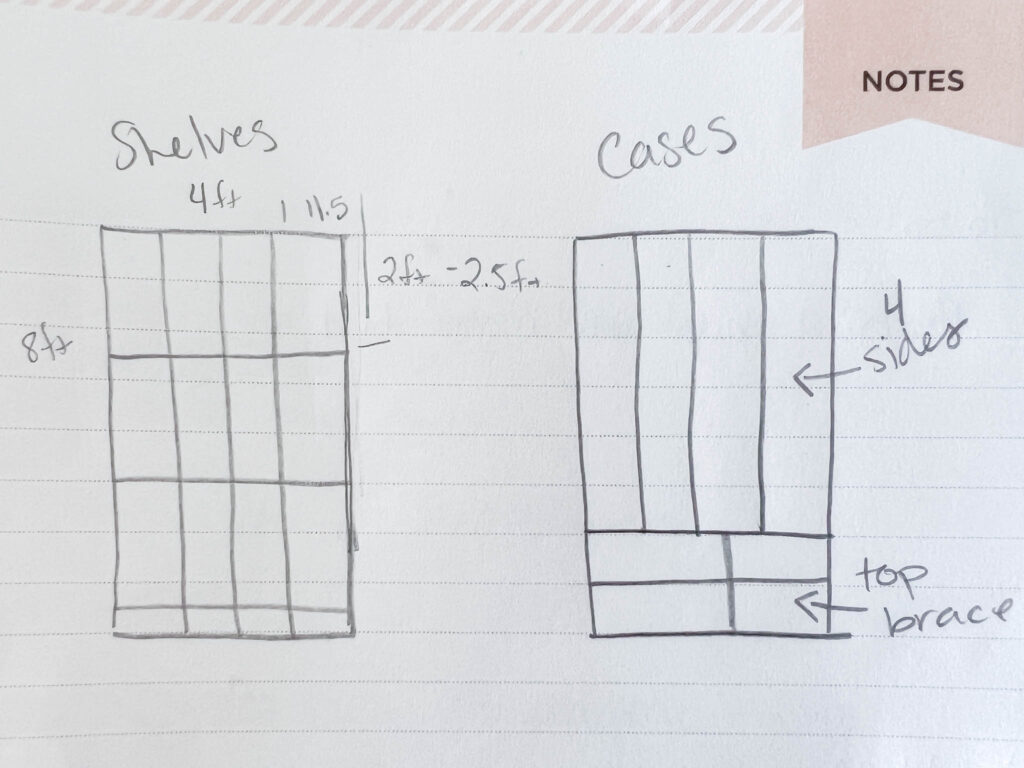
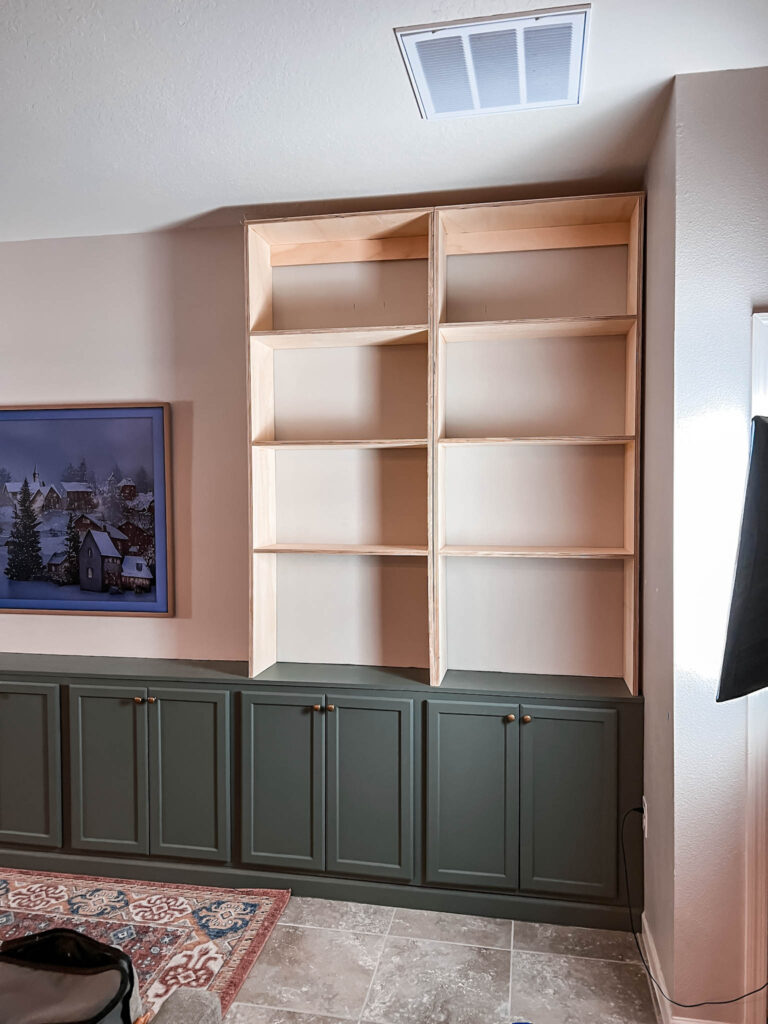
I took some measurements and sketched up the general plan for the two shelves. Rather than building two 5 foot shelves, I wanted to build four 2.5 foot shelves so there would be no risk of bowing on the shelves. (Plus I just like the look of them after being trimmed out.
My measurements took into account the height of the ceiling but also tried to utilize the most of each piece of plywood to minimize space. Could we have gone wider? possibly, but then I would have needed at minimum another sheet of plywood, which currently is running for $70. (woof..) As it stands, the shelves take up a total of 10 feet of our roughly 20 foot wall space which feels perfect.

Materials Used
3/4 Plywood
1×6″ Poplar Trim
1×3″ poplar Trim
1×2″ poplar Trim
2 inch Screws with Star Drive
2.5 inch Screws with Star Drive
Wood Glue
2in and 1.25 in nails for gun
Sherwin Williams Showcase Interior Paint. Eggshell. Color Pewter Green
Spackling
Paintable Caulk
Tools Used
Power Drill
Table Saw
18 Gauge Brad Nailer
Power Sander
Shop Vac
Drill Bits
Sandpaper 80 & 220
Caulk gun
Paint Brush
Cabinet Roller
Stud Finder
Tape Measure
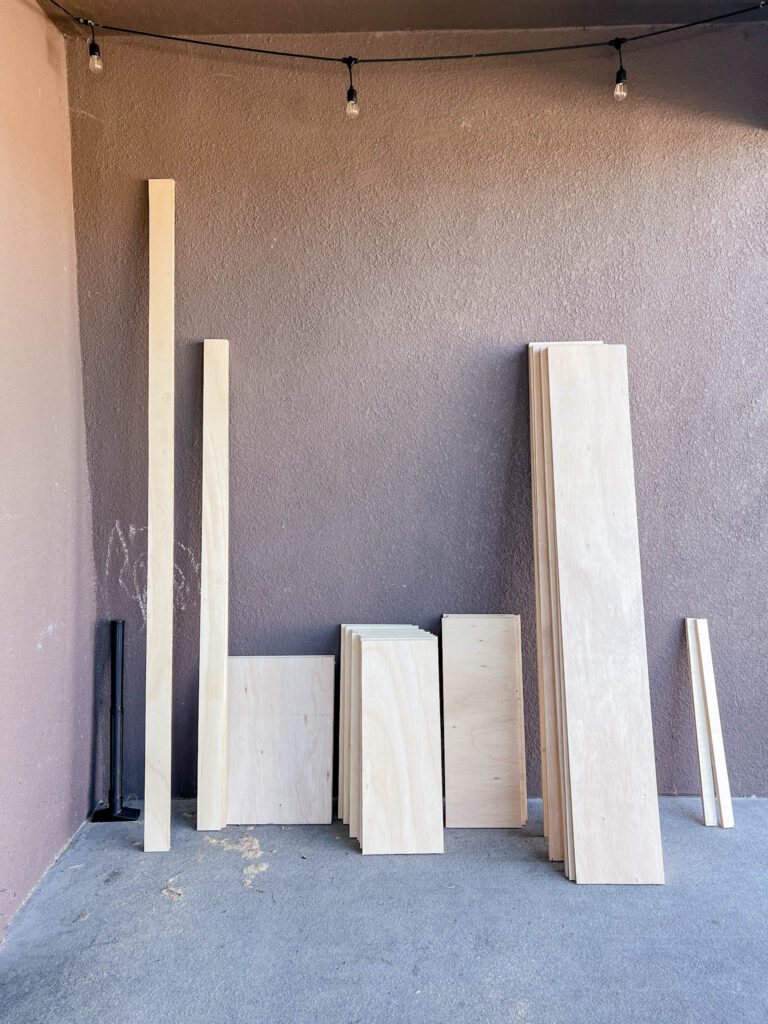
Cutting the Boards
Step one was getting all my measurements squared away, plotting it out for each sheet of plywood, then cutting the plywood down. This was my first time ever using a table saw and the whole process was 10 out of 10 recommend!
I wish I would have had this tool for the cabinet countertops! That would have been 100x easier.

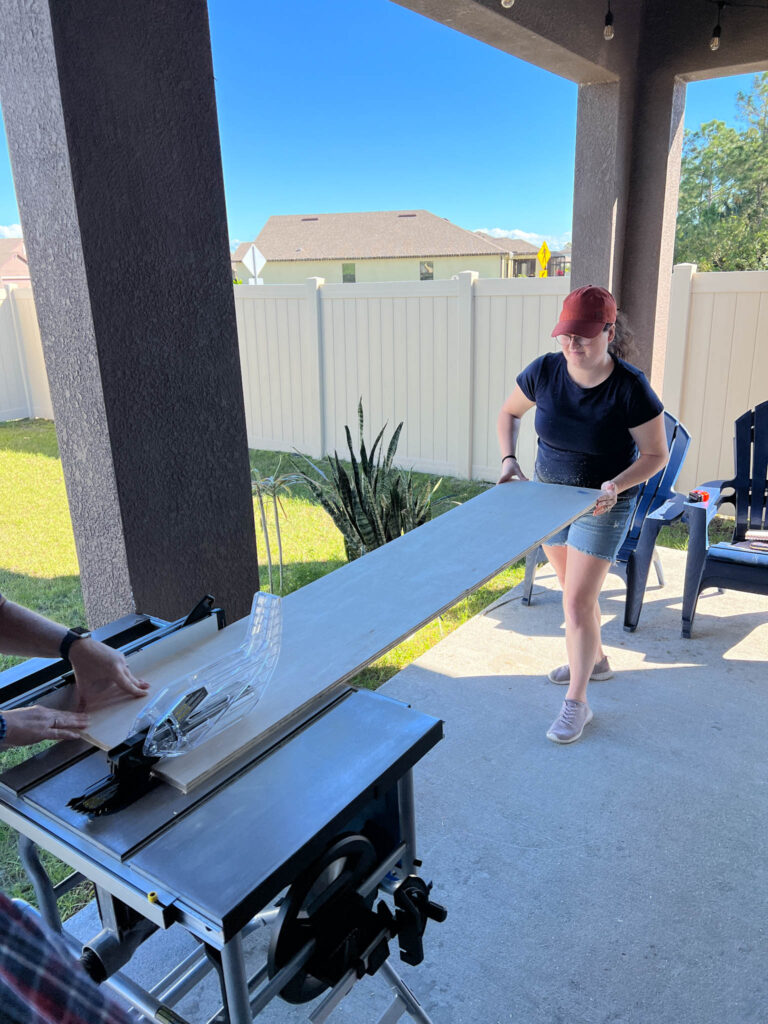
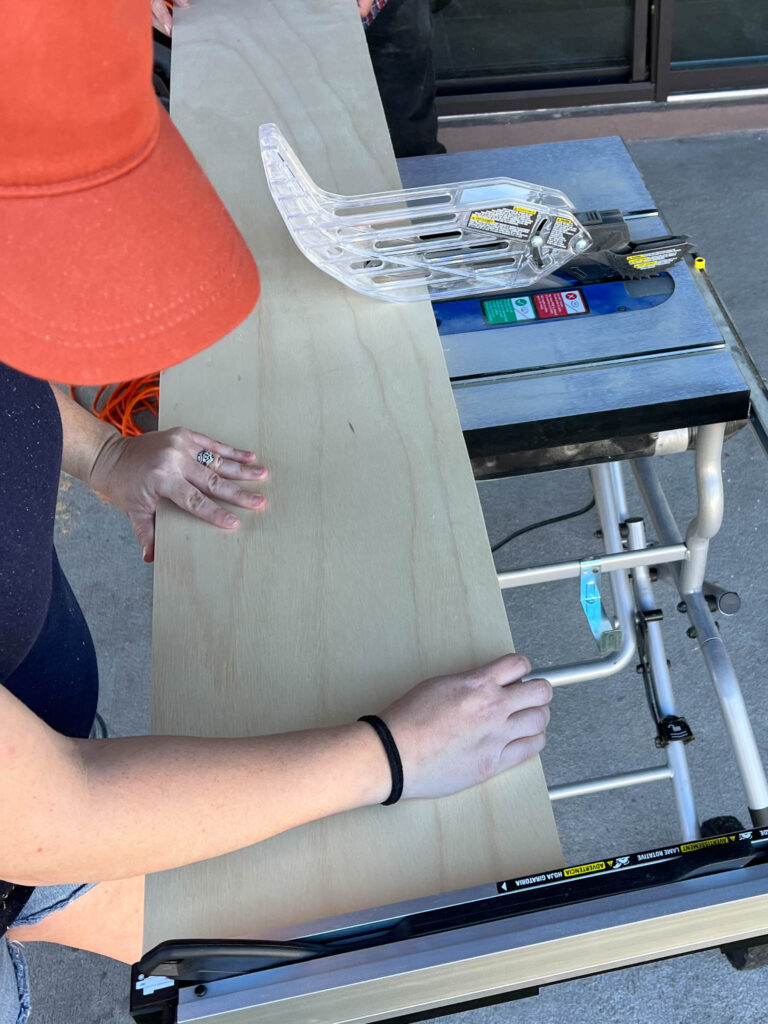
I used the saw to quickly cut all 8 sides, 12 shelves, and 4 back bracers for the bookshelves. It went so fast and was amazing to be able to get the precise cuts I needed to do these right.
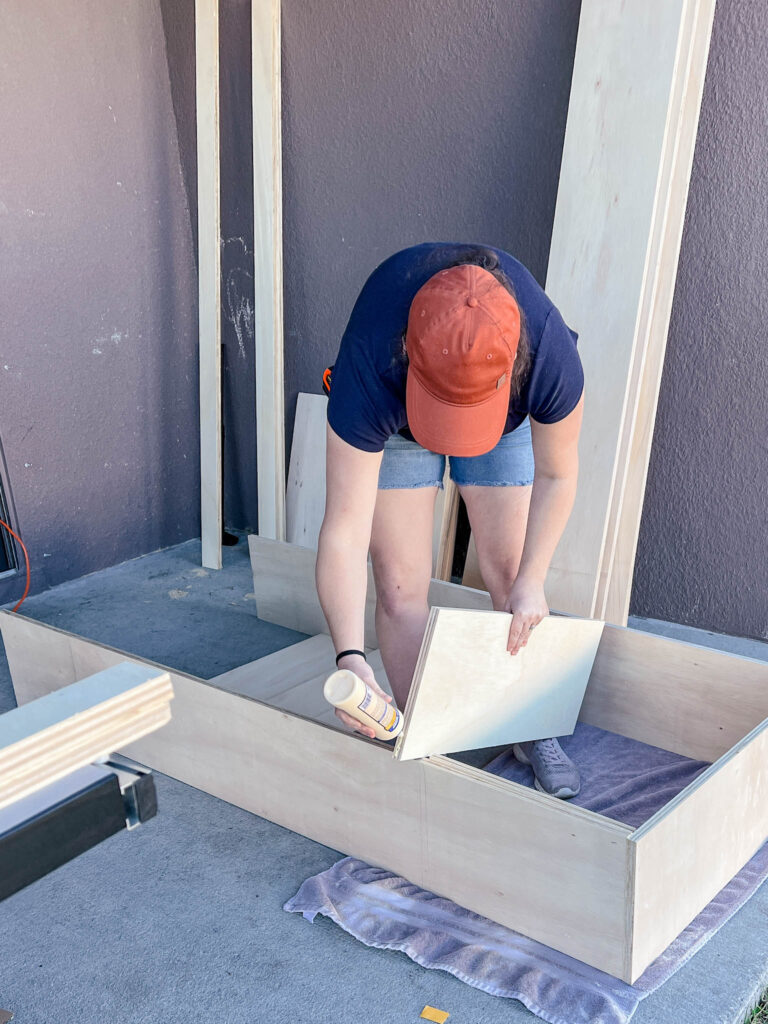
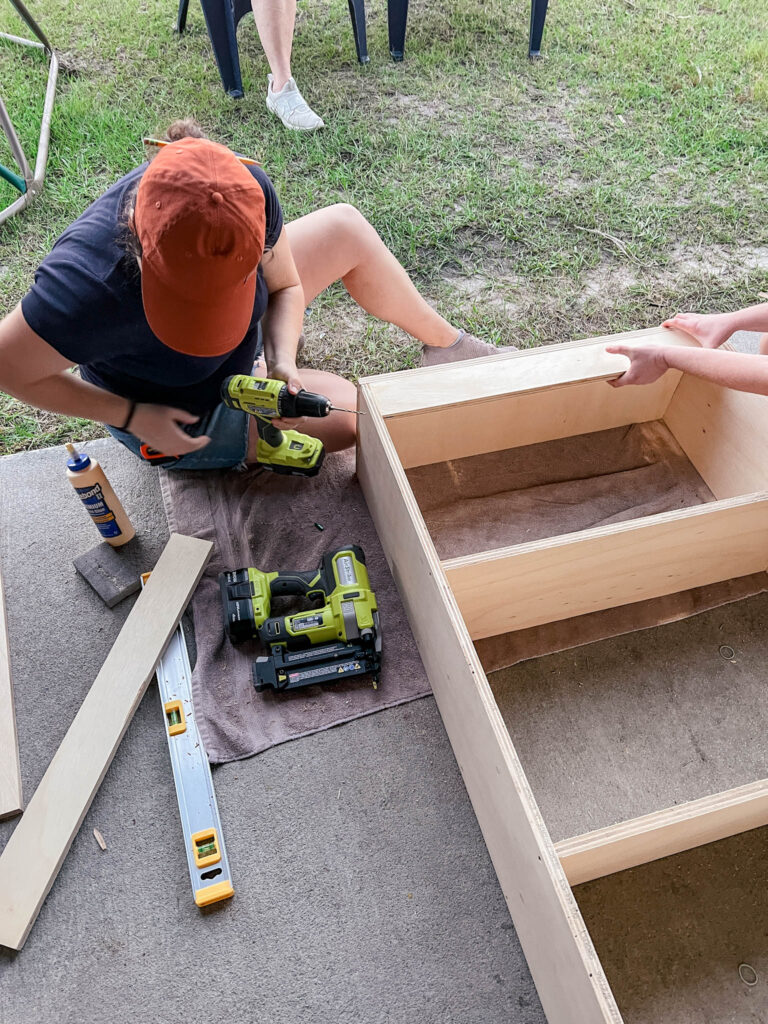
Assembling the shelves
I cut out a couple shelf guides with the plywood scraps to make sure that each shelf was spaced and assembled exactly the same. This is a must and cuts down so much time so you don’t have to measure everything again and again.
I assembled each shelf from the top down to further increase the chance that everything perfectly lined up when put on the wall.
Wood glue the sides of the shelves to make sure they’re nice and solid once set, then put some pilot holes in and screw a couple 2” screws in on each side to keep them nice and tight. I used a nail gun tack the shelves in place before driving in the pilot holes and screws and that was helpful so they didn’t wiggle too much.
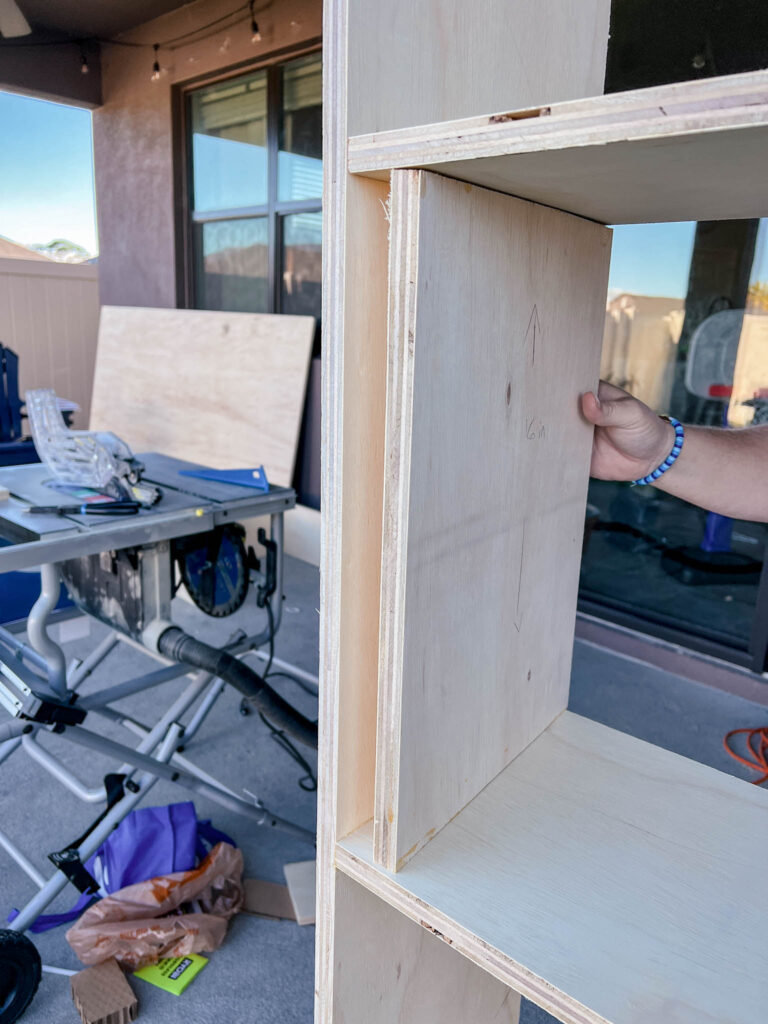
Once all the shelves were assembled I worked on getting them placed and anchored to the wall.
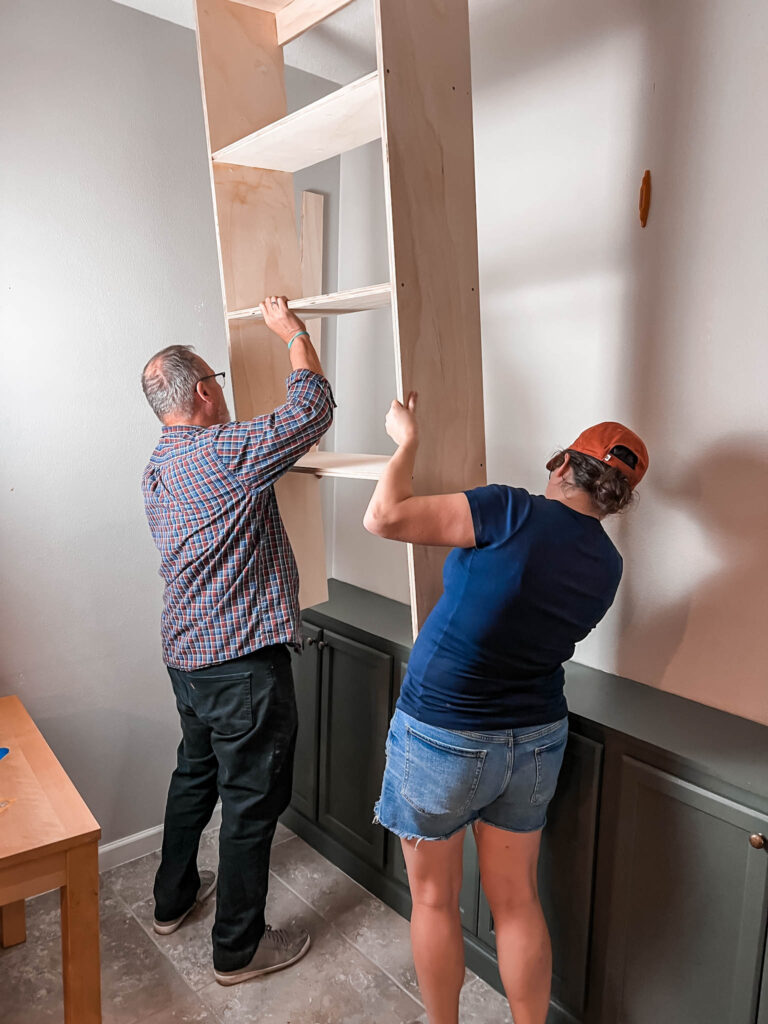

I needed to bump them out from the wall a tad bit so that the trim would fit and look uniform for each shelf. To do this without spending a ton of extra money I used the long scraps from the plywood sheets we used to cut out the sides. This functioned just like I had cut an additional side (my first plan) but saved me $80. I nailed the spacer to the wall and put the shelves right up next to it.
I screwed each shelf together first, then anchored it into the studs.
Trimming out the Shelves
The final step for the build was trimming them out. I used Poplar trim which is sold by the foot, so make sure you account for that in your budget otherwise you’ll have a heart attack.
This part isn’t cheap, but it is the difference between something looking DIY and professionally done.
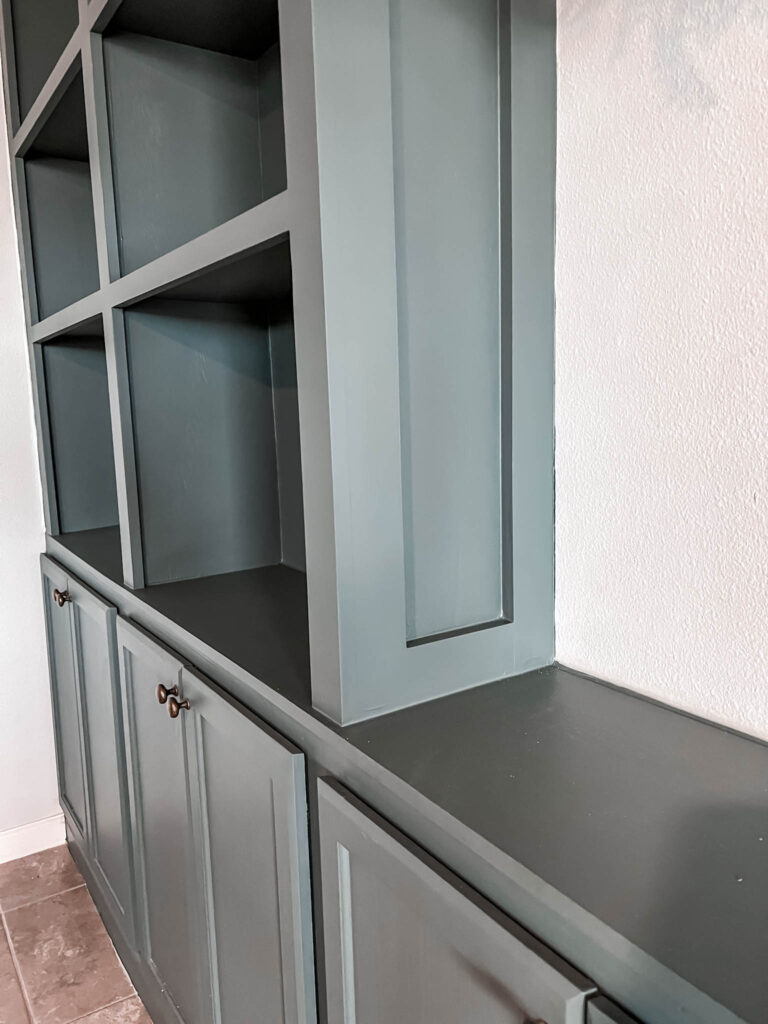
I used 1x 6″ poplar to trim out the top of the shelves, taking it all the way to the ceiling, 1×3″ on the fronts and sides, and 1×2 for the shelf fronts. This all hid the plywood edges and made an instantaneous difference in how the project looked even before paint.
I also chose to trim in the two outside edges of each unit to give it a bit more flair and detail. This was about $50 extra in materials and I have zero regrets. I love how it looks!

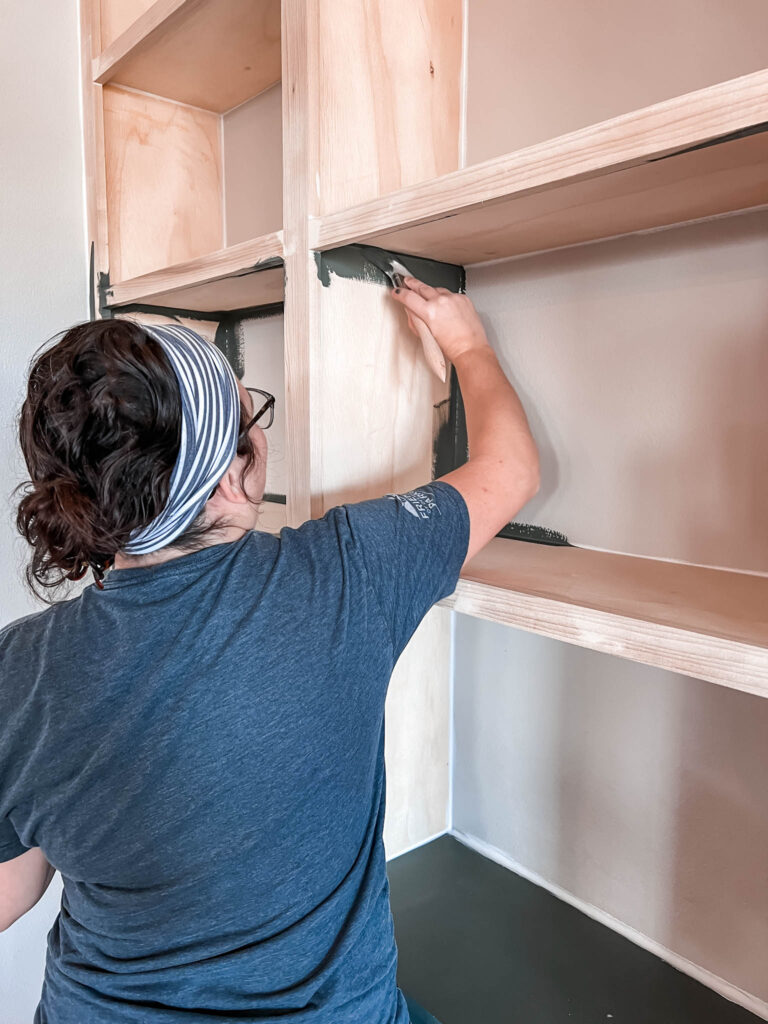
Finishing Work and Paint
By far the most tedious part of the project was filling all the nail and screw holes, sanding the units down, vacuuming up the dust, and caulking the seams. This took about twice as long as I anticipated. The battery powered sander saved my arms and was the real MVP of this step.
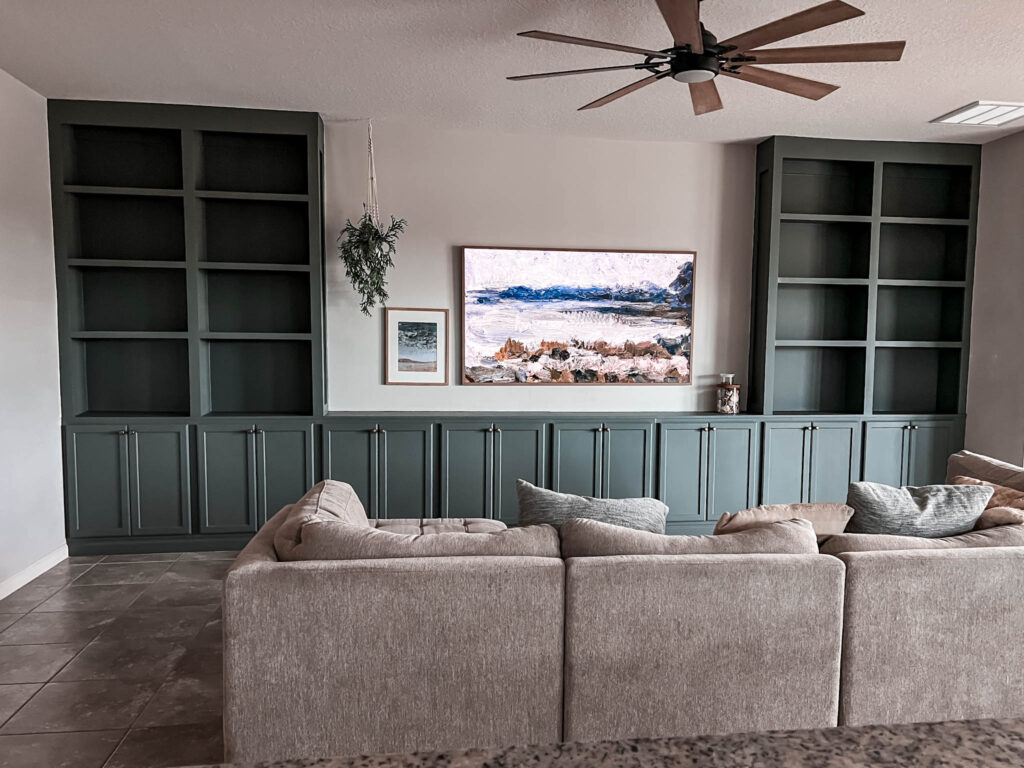
I used my favorite interior paint, Sherwin Williams Showcase in Eggshell to paint the bookshelves to match the cabinets. The cabinets have held up so well over the last few months with tons of use so if you’re on the fence about going with a more expensive paint, I can’t recommend this highly enough. The rooms I painted with cheaper paint when we moved in a year ago already need repainted! This is my go to from now on! Lesson learned.
The paint color is Sherwin Williams Pewter Green which is absolute *chef’s kiss!* I could not love this color more.
It’s the perfect moody green and looks good in any light all throughout the day.
Biggest tip for this step is to not skip sanding in-between coats. It stinks. You don’t want to. But you need to do it. After the first coat I used my hand sander with a 220 paper on it. After the second coat, I sanded by hand with 220 paper to make sure I got all the smaller areas that needed a bit more love.
This was an all day affair which shouldn’t have shocked me since it took me three days to paint the cabinets. But goodness was all the time worth it!


Total Time to Build and Finish the Shelves:
- Building: 9 Hours
- Sanding + Caulking: 6 Hours
- Painting: 9 Hours
Total time: 24 hours over 3 days!
What’s Next?
Next on the to-do list to finish this room:
- Fill the Shelves with beautiful, usable items
- Hang Crokinole on left wall for decoration and usability
- Possibly get a larger rug to better fit the room
- Find the perfect coffee table for game nights
We’re almost there! While there’s still some work to do, if you need me, I’ll be swooning over this wall for the foreseeable future.