One of the biggest struggles for any hobby gamer is finding a way to store your board games. Everyone has a different threshold for how many games they want to collect and keep in their home, but no matter what that number is for you, finding a way to store them can be a challenge.
We live in a smaller home and don’t have the option to create a dedicated board game room. That would be a complete dream, but for now, it’s not a reality.
However, I didn’t want that to stop us from creating a space that is both beautiful and functional. Kallaxes might work great for some, but for me, they are just not the way. I wanted to create a space that was ready to host the best board game nights that didn’t scream “BOARD GAMES” to every guest that walked in our house.
So the plans began to create a secret game room in the living room.
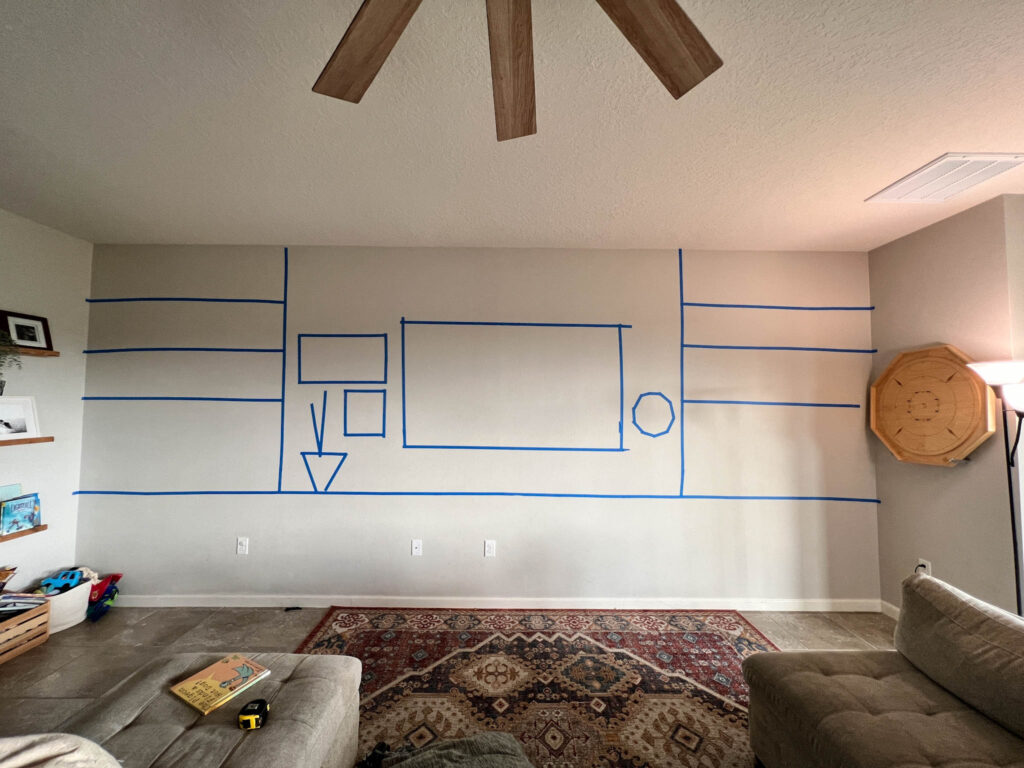
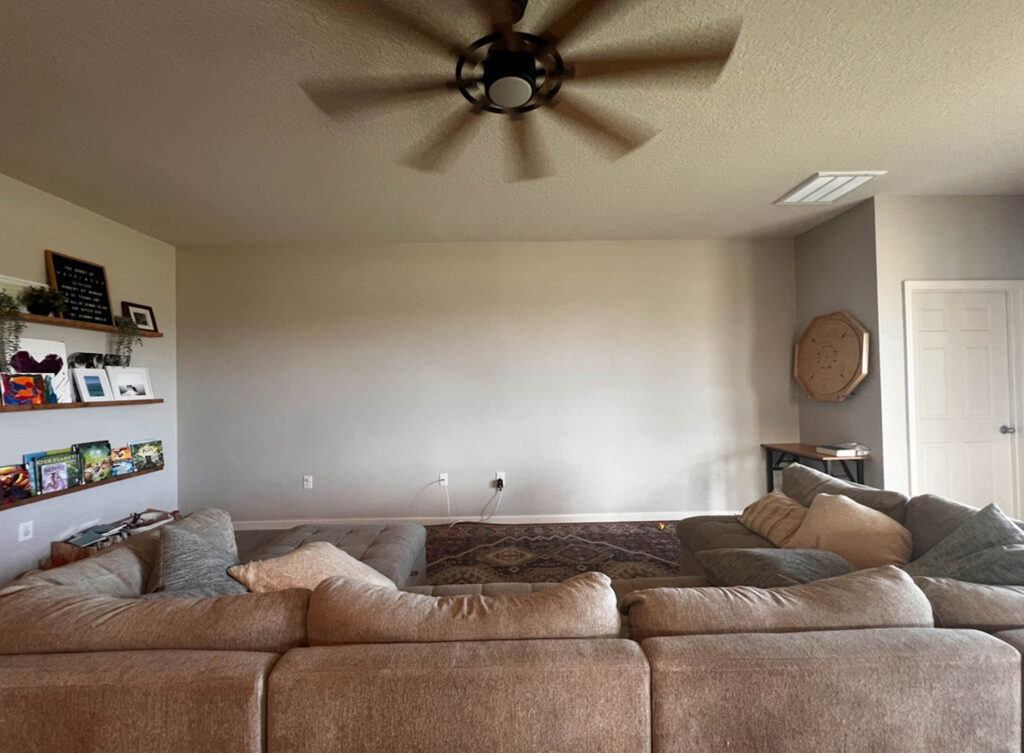
Our living room has a big blank wall and I decided to design a storage solution that could give our family a large amount of space to store games without losing too much square footage in our living space.
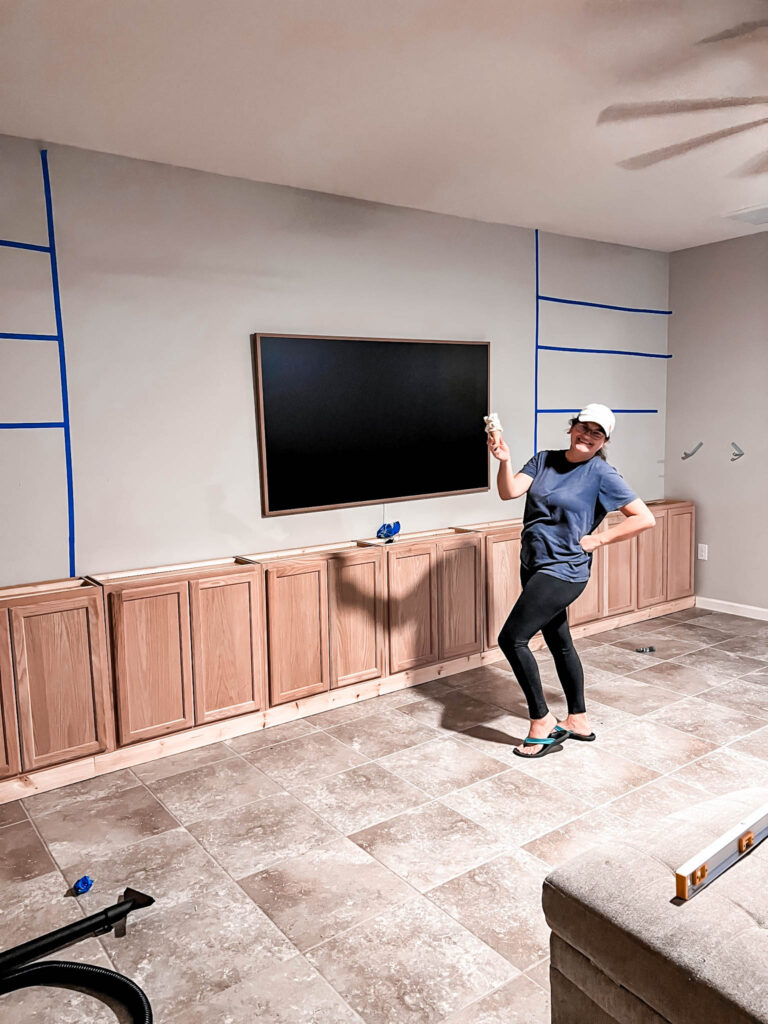
Like all good projects, it began with a blue tape mock up.
Goals of the Build
I had a few main goals for the build:
- Create a beautiful focal point for the room.
- Hidden, lockable storage for games.
- Video Game hook up location.
- Easily grab accessories we need for game nights
- A place to play games in the living room together.
TV vs Projector
For the past 5 years we’ve been without a television and it has honestly been wonderful. I cannot recommend it enough.
We’ve used a projector to watch movies on this big living room space and it’s one of our favorite things to do together. We went back and forth between upgrading our projector and incorporating a pull down screen into this build or getting a TV. Our projector was great for movie nights, but not the most ideal for video game nights. However, I didn’t want a big black rectangle on the wall — we don’t watch a ton of tv so I hated to dedicate such a large portion of the wall to a television.
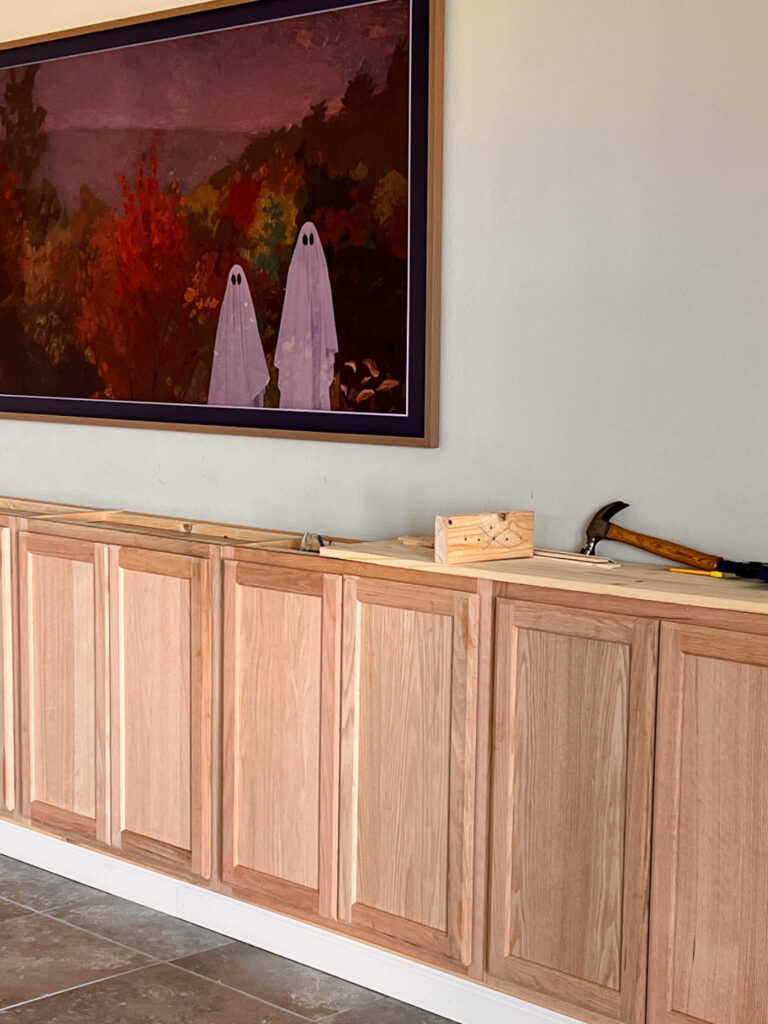
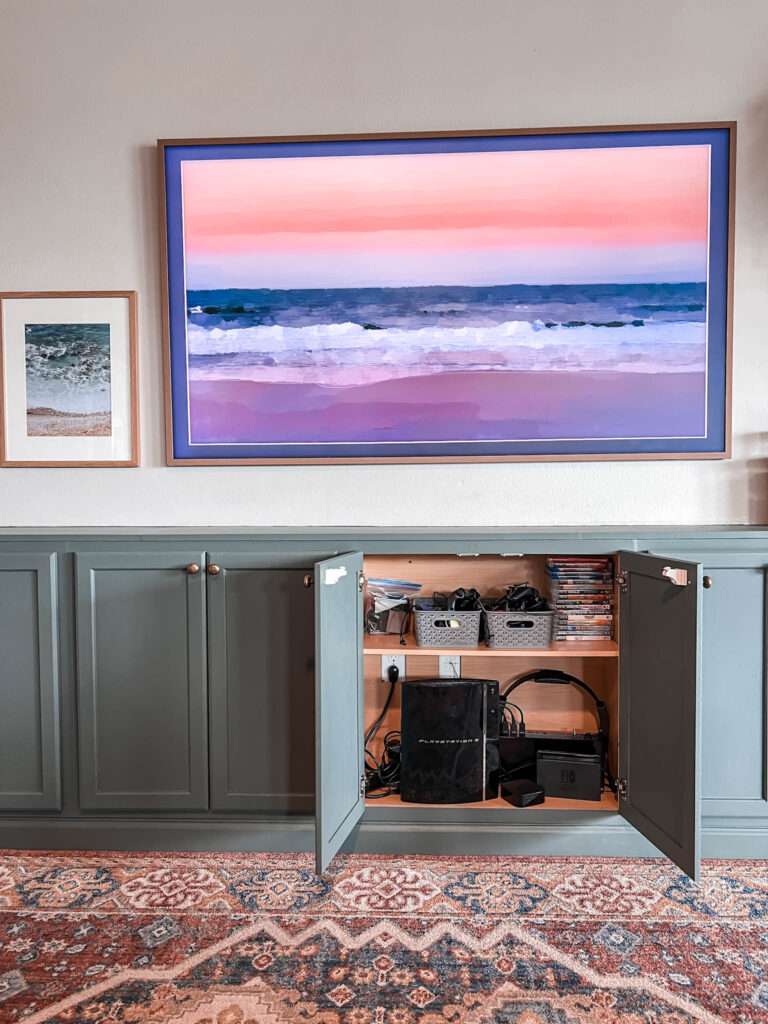
Ultimately, we decided to go with the Samsung Frame TV. After measuring the wall we chose the 75″ model and could not be happier. It still gives us a huge screen to enjoy movie nights. Plus it’s so incredibly thin that it truly looks like a (giant) piece of art on the wall when in art mode.
I also picked up the Teak frame to put around the edge of the TV. I love how it matches my other teak frames throughout the house, further helping it feel more like an art piece.
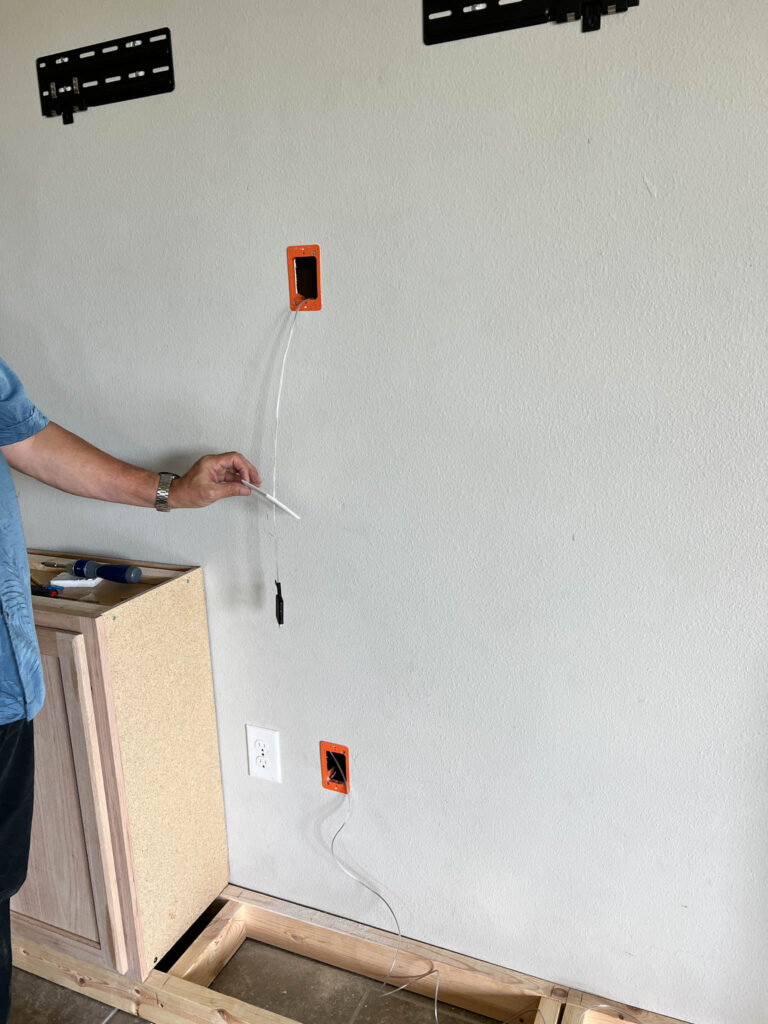
Before getting started on the cabinets, we got the TV placement set and all the mounting hardware on the wall so we didn’t have to work over the cabinets.
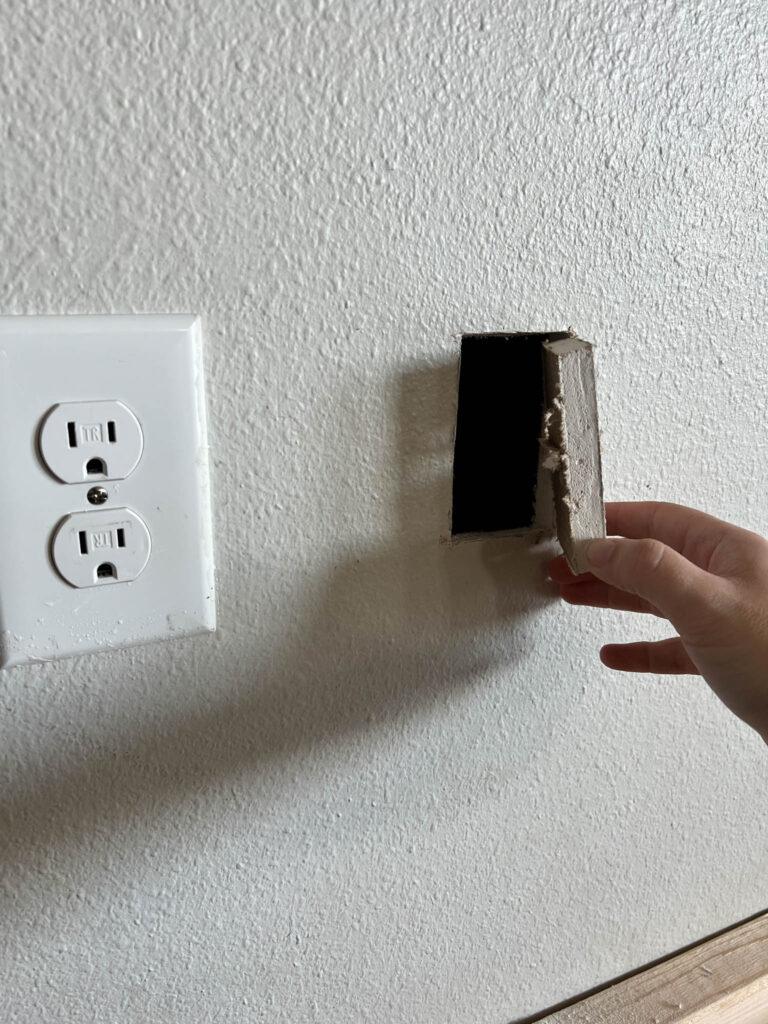
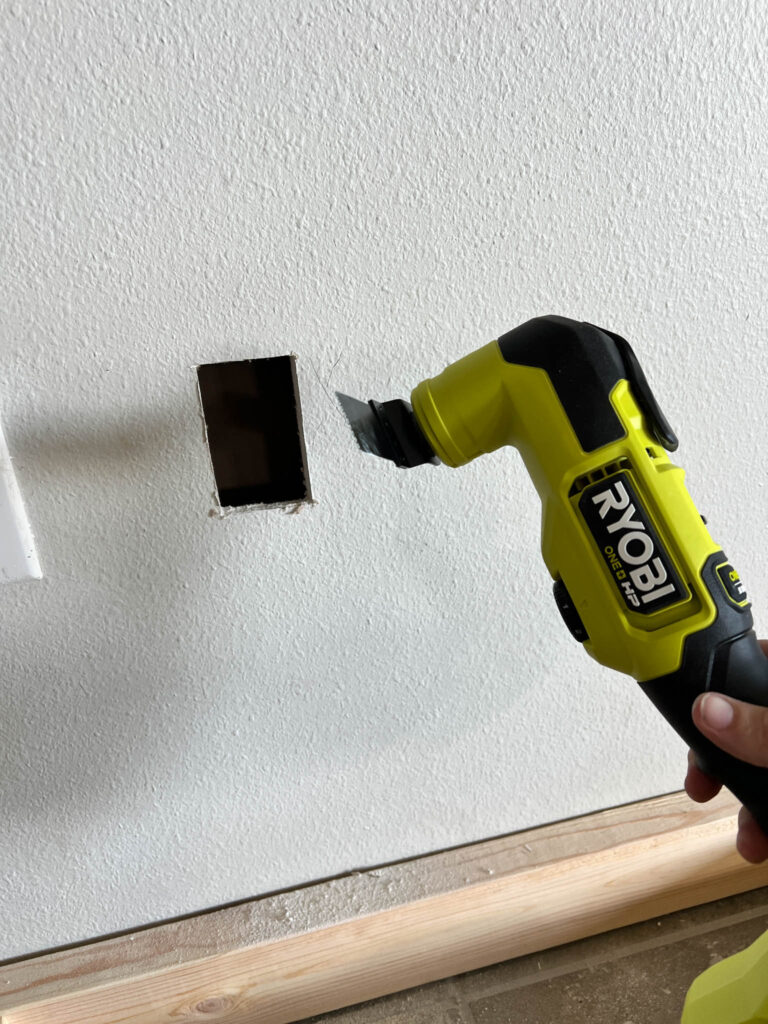
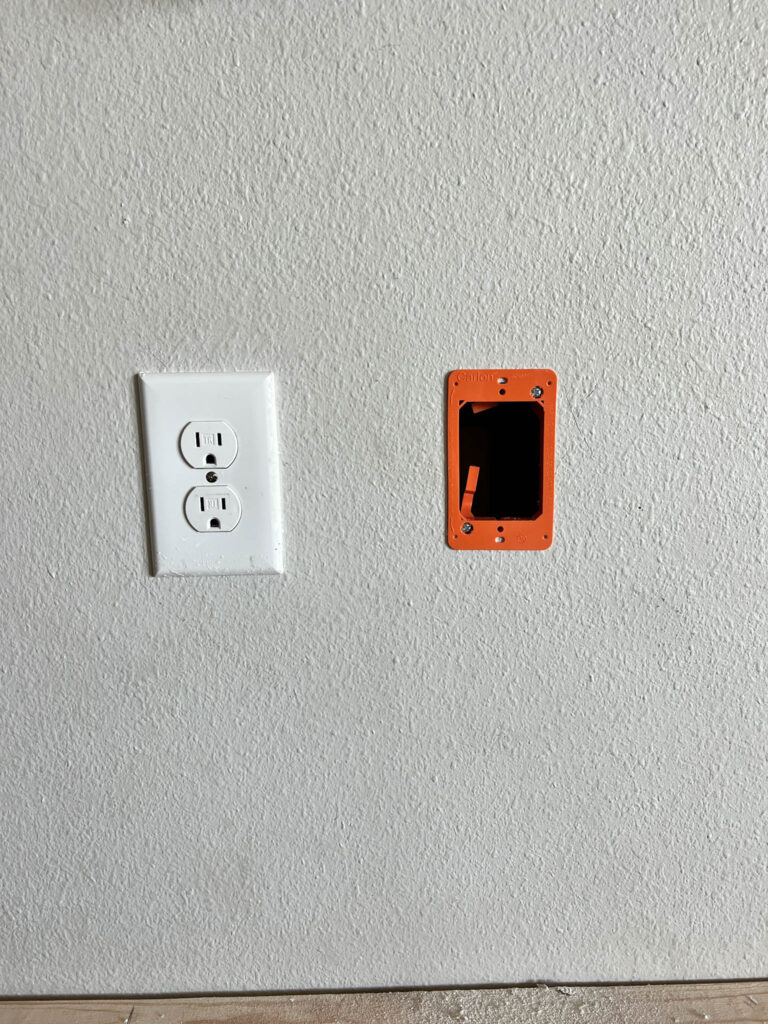
I cut holes in the dry wall with my Riyobi multitool and added low voltage boxes so the Frame TV’s One Connect cord could run through the wall and complete the “art” look.
This is such an easy project! If you’re tired of looking at your TV cords, I promise you can do this!
Building the Base
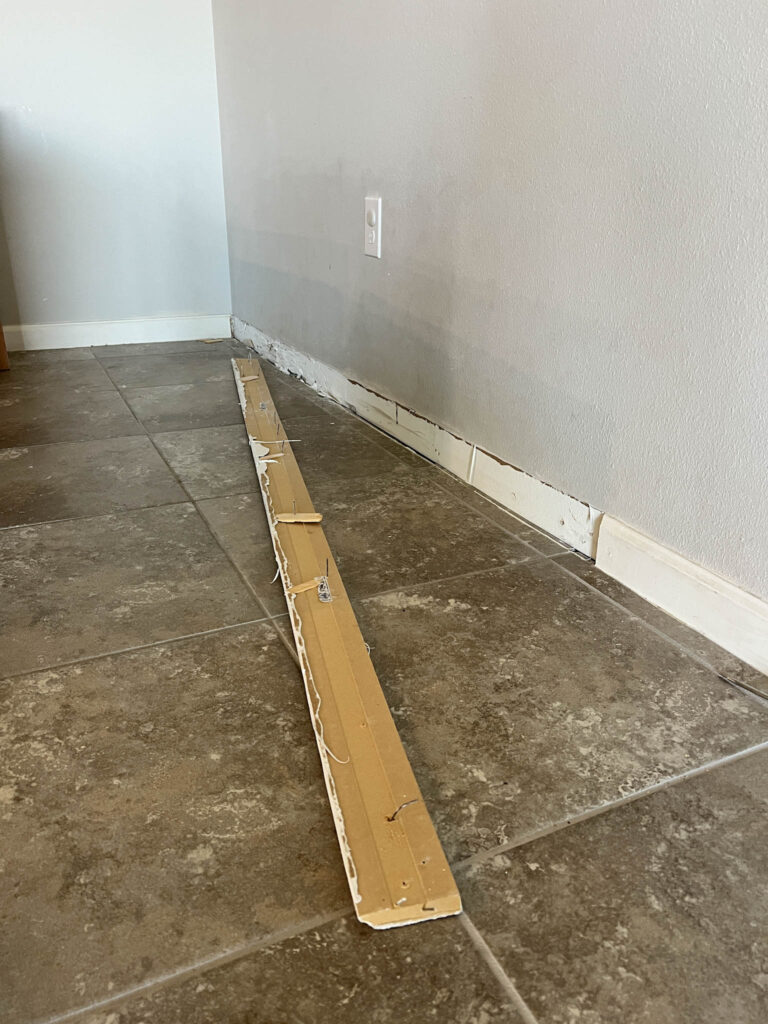
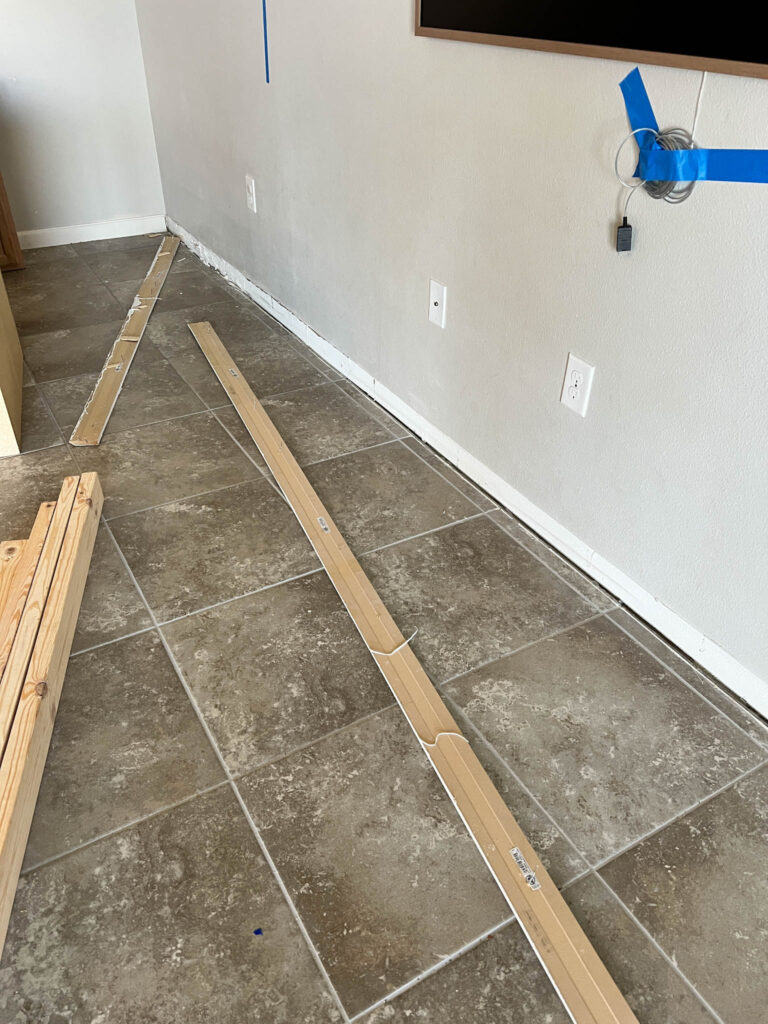
To make sure everything was flush against the wall and have a more finished look, I built a 2×4 base for the cabinets to sit on.
I ripped the trim off the wall and made the base so that each cabinet would sit on support boards. I built mine with 2x4s but you can build yours to whatever height you’d like. My house has 4″ trim so I used that as my guide as I don’t think replacing my trim with 6″ or 8″ modern trim is in my future.
Make sure you account for any toe kick space you’d like with your cabinets. I didn’t want a toe kick so I made the base the depth of the cabinet minus 1/4 inch or so to account for the trim I’d add at the end.
You’ll need to screw your base into the studs. Then, once you get the base built, add your cabinets to determine placement.
For the cabinets I went with the stock wall cabinets from Lowes. Our wall allowed for 8 30x30x12 wall cabinets with about 3″ to spare. I chose wall cabinets so that we didn’t lose too much floor space. (only 20 square feet total!) If I had more room, I would have used lowers to get even more storage space to fit the common 12×12 board game boxes.
Securing the Cabinets
Securing the cabinets took the longest time but is the most important.
I needed to make sure the cabinets were flush with each other, the wall, the base, and level all the way down. You’ll need to use shims and a lot of patience to make this work.
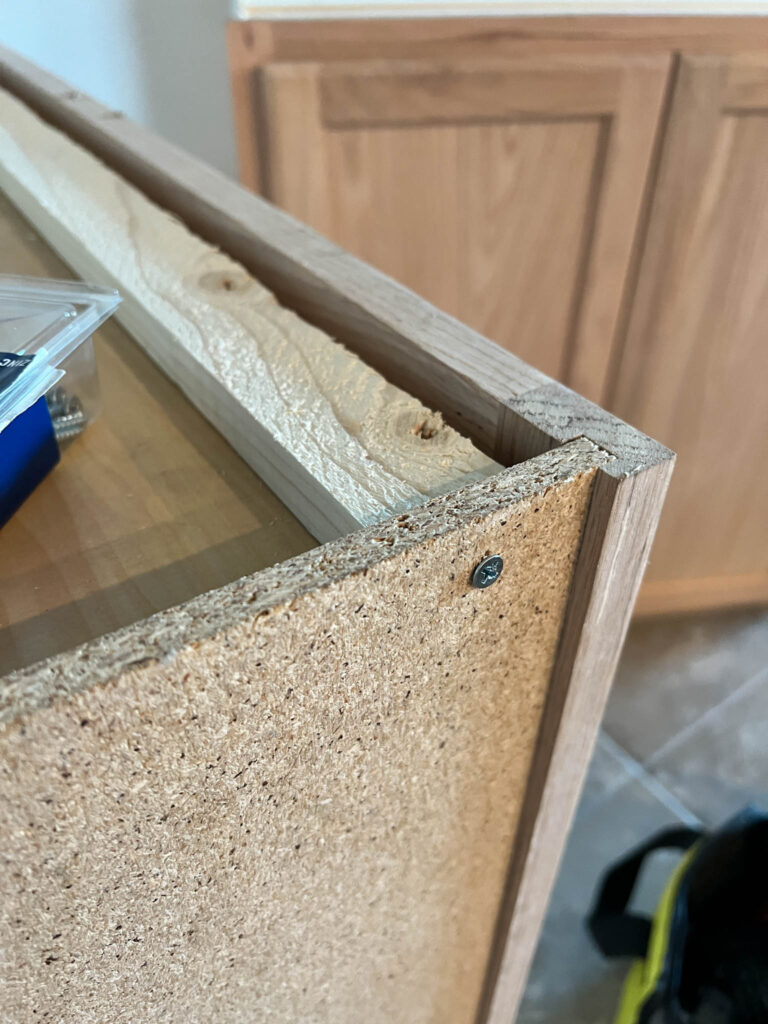
If you’re using uppers, I recommend adding as support board to the tops and bottoms so you have something to support the countertop and secure a screw into. I used 1x2s which worked really well.
Then worked systematically attaching two cabinets together at a time all the way down the wall. I used two cabinet screws in each side and clamped them all the way down to keep them flush.
For each cabinet that would line up with an outlet, I used my multitool to cut into the back so that the outlet could be accessible inside.
Only after we had all the fronts flush and secured did we attach them to the wall. No walls are completely straight and that was the case with ours. We had one section of the wall that was a bit wonky and worked with that first. After getting the cabinets level and flush with the wonky wall, the rest was a piece of cake.
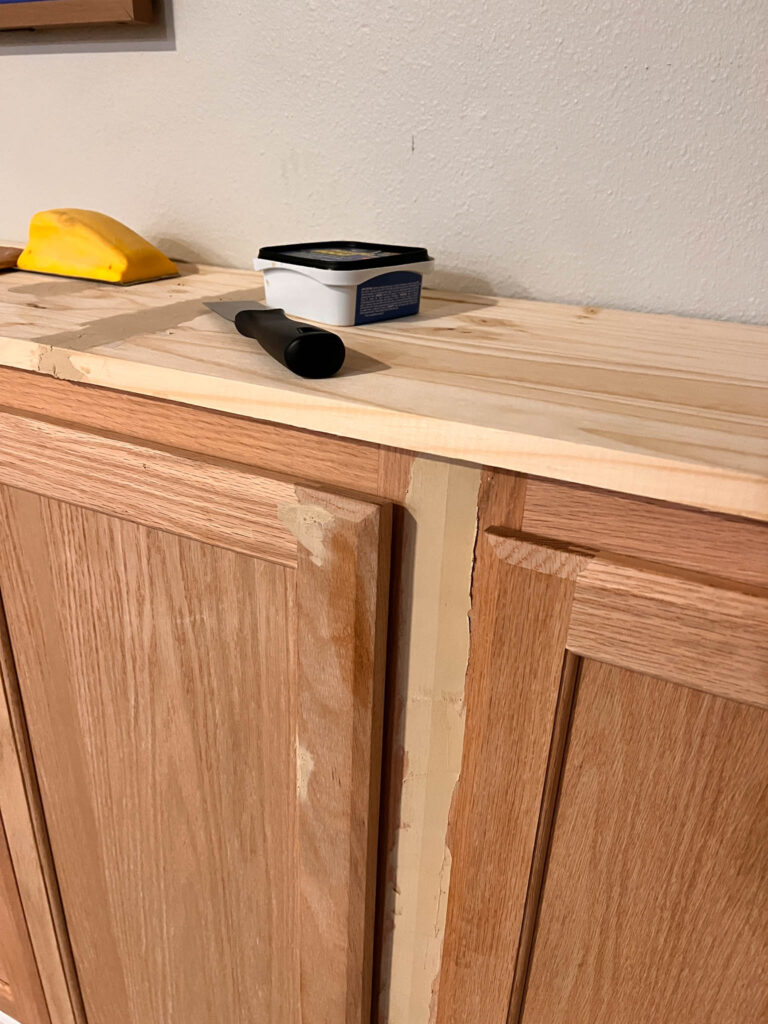
Countertops
The countertops are just pine boards cut with just a small lip to give it that countertop look. I screwed it to the cabinets from the bottom so the screws are hidden inside the cabinet. This is where those support boards come in handy.
There are two spots where I had to wood fill and sand flush, but since I was going to paint the whole thing rather than stain, I didn’t worry about selecting a more expensive wood top. I also filled any any of the seams on the cabinet fronts where I screwed them together to give them a more polished look.
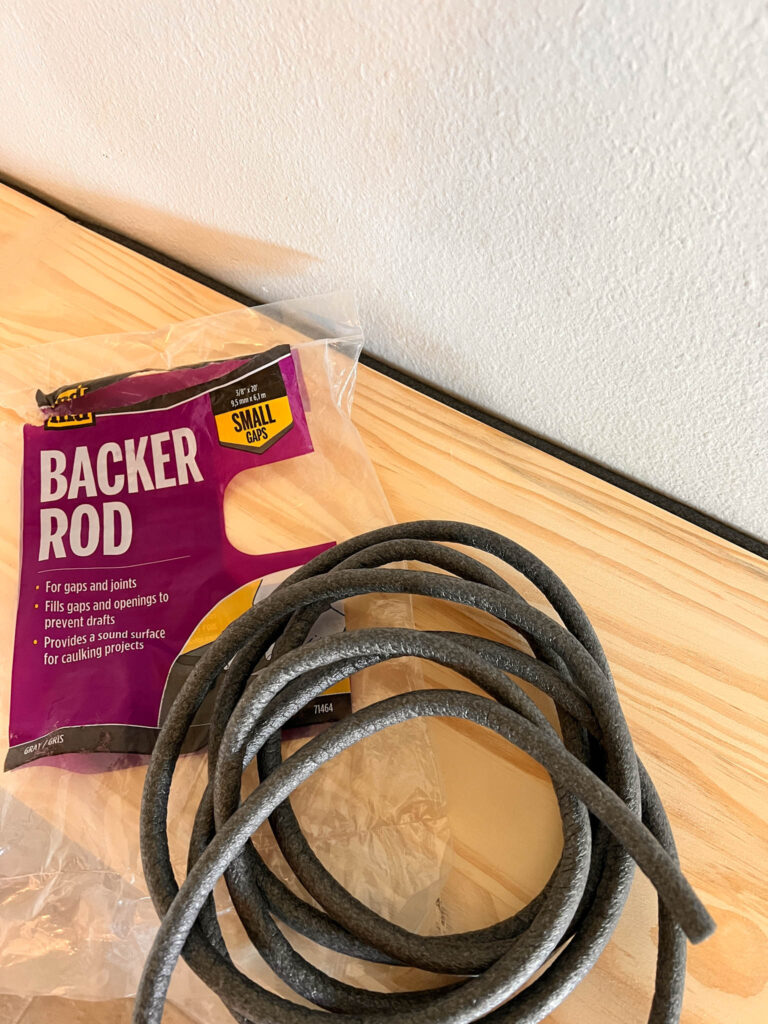
To prep for caulking all the seems, I used some backer rod for that one wonky section of the wall. this helped fill in the gap so I had something the caulk could stick to. It worked so well and will even be hidden by the future book shelves so no one really be able to tell.
I then added a simple piece of trim to the bottom and filled in the nail holes.

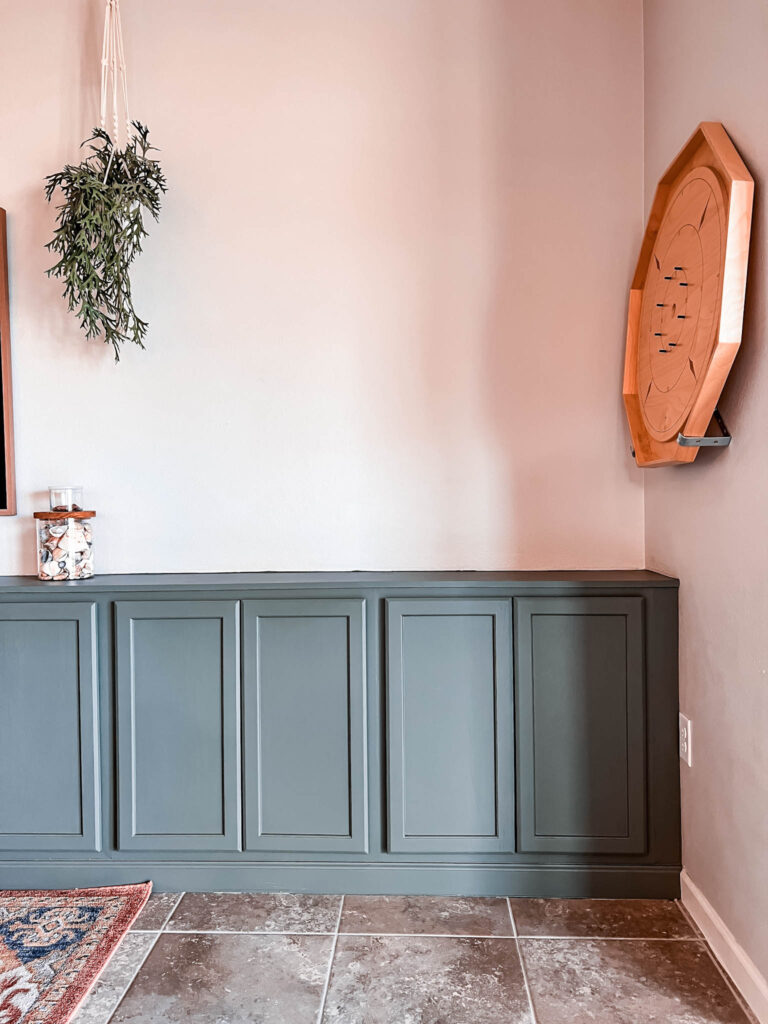
Paint Color + Hardware
Where the build really came alive was with the finishing touches of paint and hardware.
After months of going back and forth, I finally settled on Sherwin Williams Pewter Green for the color and am SO happy with how it turned out! Each cabinet and door got four coats of paint with a solid sanding in between each coat to make sure everything stayed smooth as butter. Highly recommend removing the doors and cabinet hardware off the cabinets to paint them. It’s tedious but you’ll be glad you did.
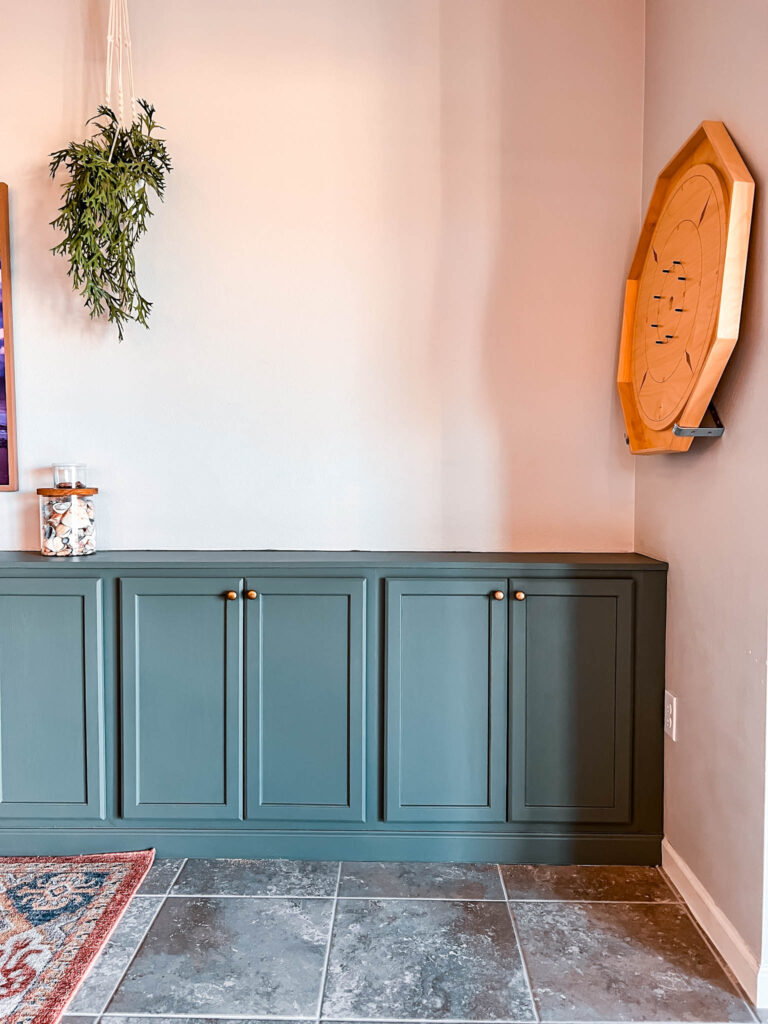
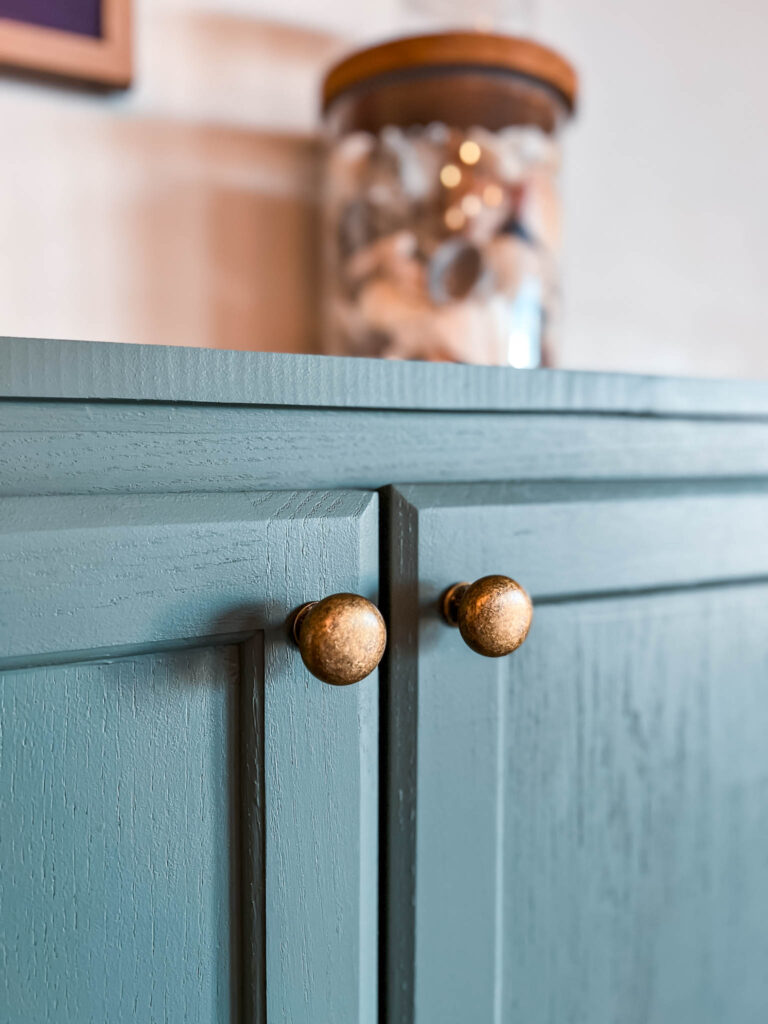
To add some character and compliment the green, I found these gorgeous antique brass knobs which are dupes of some really expensive knobs I’d had my eyes on. These run about $6 a piece regularly but I was able to get a few on sale to save. They have a great feel to them and are really heavy. They look a lot more expensive than they are!
The brass just pops off the green and adds an old world feel that our new build house so desperately needed.
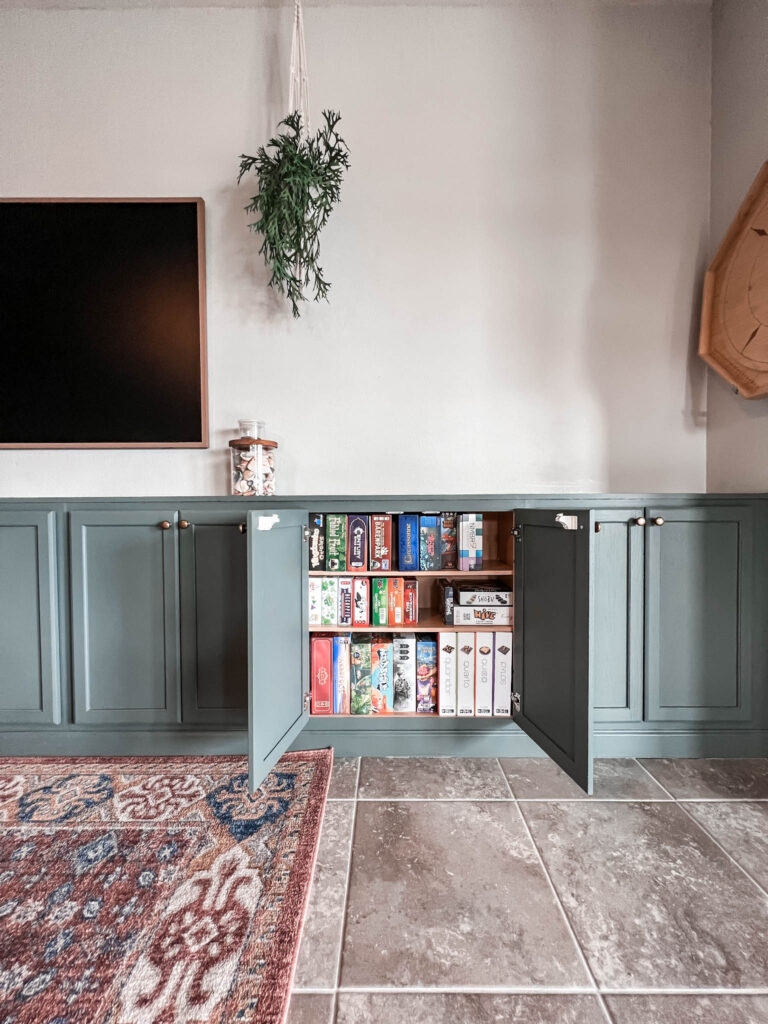
Filling the Shelves
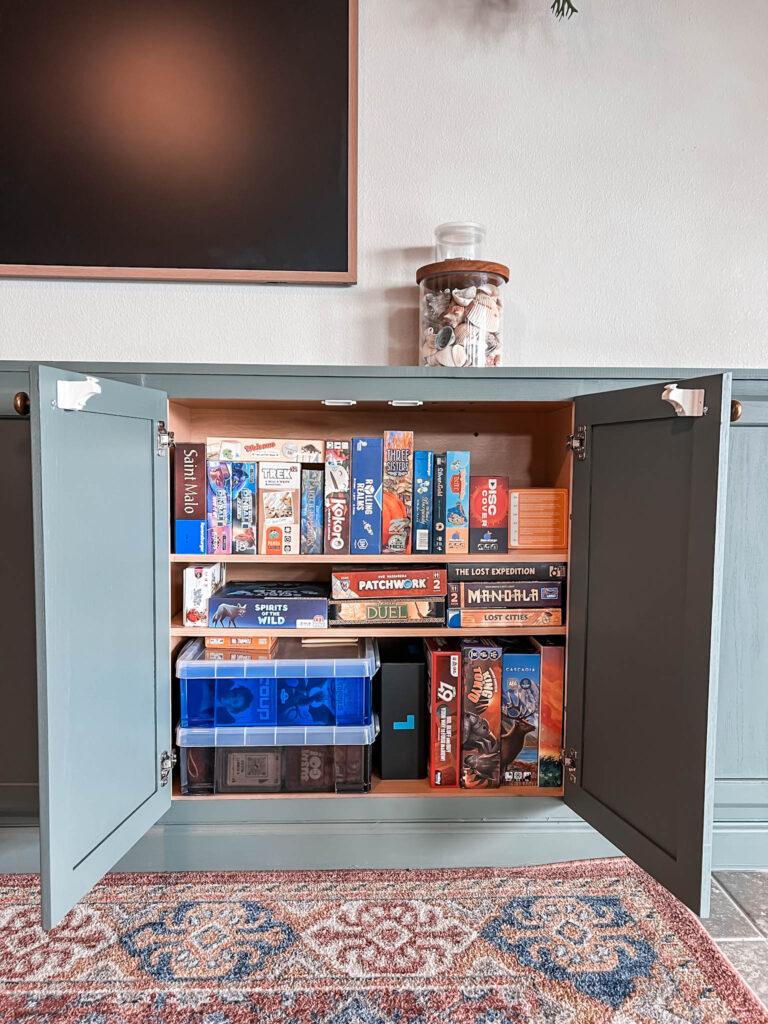
After all that it was time for the fun part: Filling the shelves!
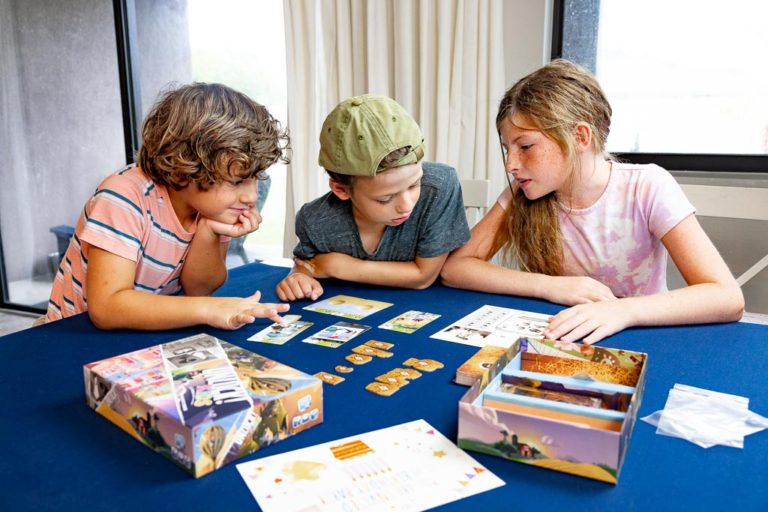
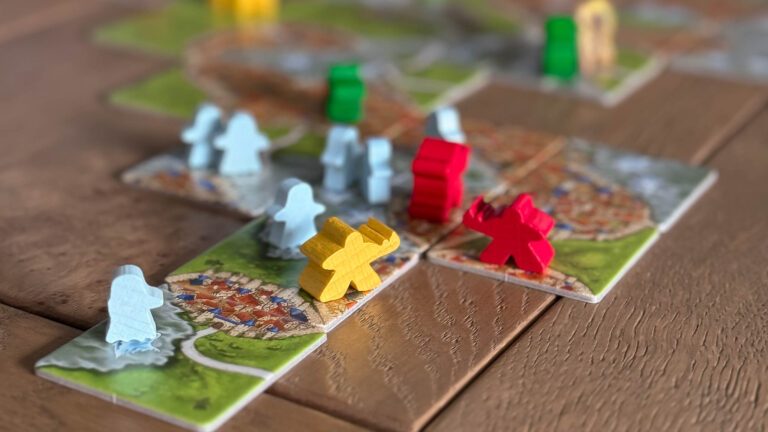
For the game room we’re focusing on the games we find we reach for the most when folks come over. Our go to gateway games, quick card games, abstract games, and a few party games.
We were also able to fit all of the video game items in the cabinet so the kids can quickly grab their controllers and get playing. The TV automatically recognizes that they want to play and turns it to the correct HDMI port so they don’t even need to get the remote. Magic.
We have a couple cabinets reserved for the kids right now. They love having a spot to store their toys and I love that nothing is visible when the doors are shut!
Speaking of shut doors, I use these magnetic cabinet locks to keep the baby out of the cabinets he’s not allowed in. I swear by them! They are the best.
Once we get the upper shelving units built this will evolve more. We plan to make one cabinet filled with the kids’ current favorite games, and will have another cabinet open up once we put all the card holders, extra dice, trays, and miscellaneous items on the shelves.
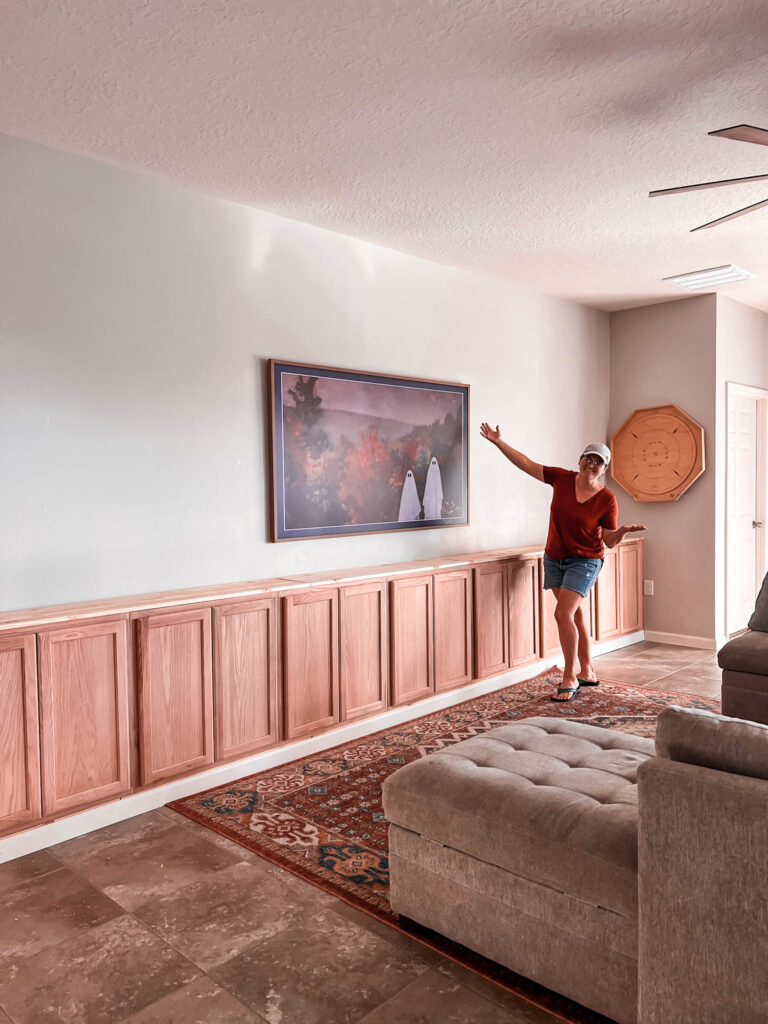
But for now, we’re so thrilled with how the space is coming along! It’s been a dream not looking at a big blank wall while making a space for our family to create tons of memories together.
Next up: Build the bookshelves for either side and find the perfect coffee table to play on!
Next: See how we built the bookshelves!

Be sure to follow us on Instagram where I’ll be sharing in stories the project all along the way!
If you liked this post you may also like:
Creating our Board Game Travel Case
How We Track Every Game We Play