First house project: Done!
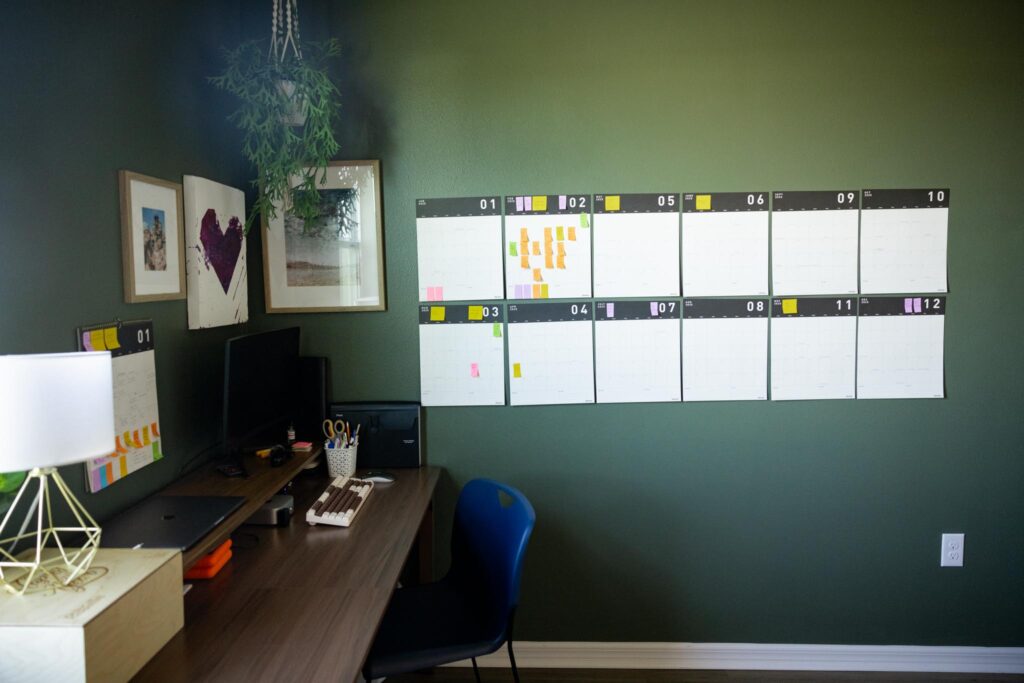
PAINT: SW ROSEMARY SATIN / DESK / LAMP similar / CALENDAR / PICTURE FRAME / HEART CANVAS (DIY) / KEYBOARD / MONITOR STAND (DIY) SIMILAR / CHAIR similar / PLANT HANGER / AREA RUG
Okay, well maybe not done, done. Is a room ever truly finished? But I’m calling this a win!
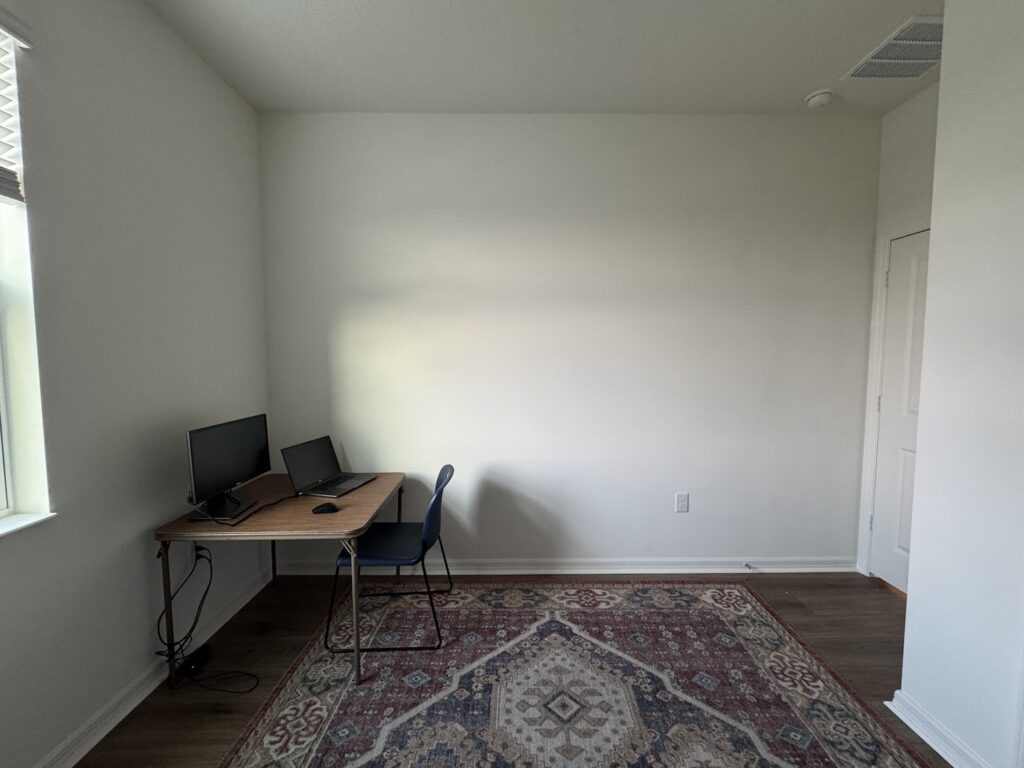
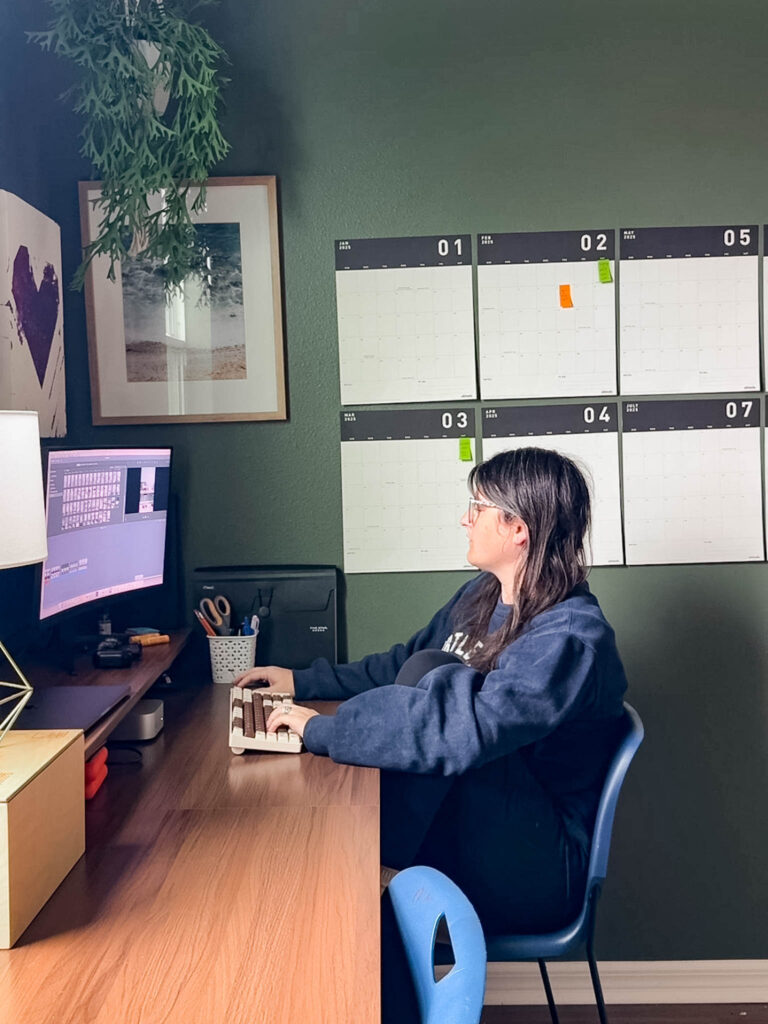
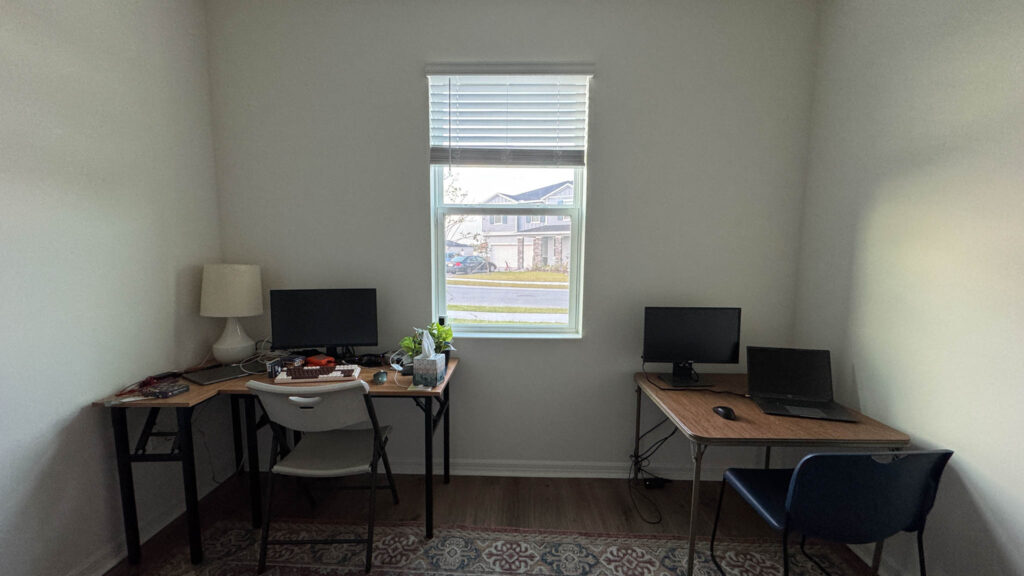
When we moved in, one of the first projects I wanted to complete was getting our bonus room all set up. This is the main area where I get all my work done for the blog and it’s so nice to finally have a space that I can set up my computer rather than continually moving from room to room away from the reach of babies and toddlers!
Not only will this room function as an office, but the goal was to have it be a quiet “big kid” retreat area. Somewhere that anyone can retreat to when they’d like a bit of peace and quiet in a cozy space.
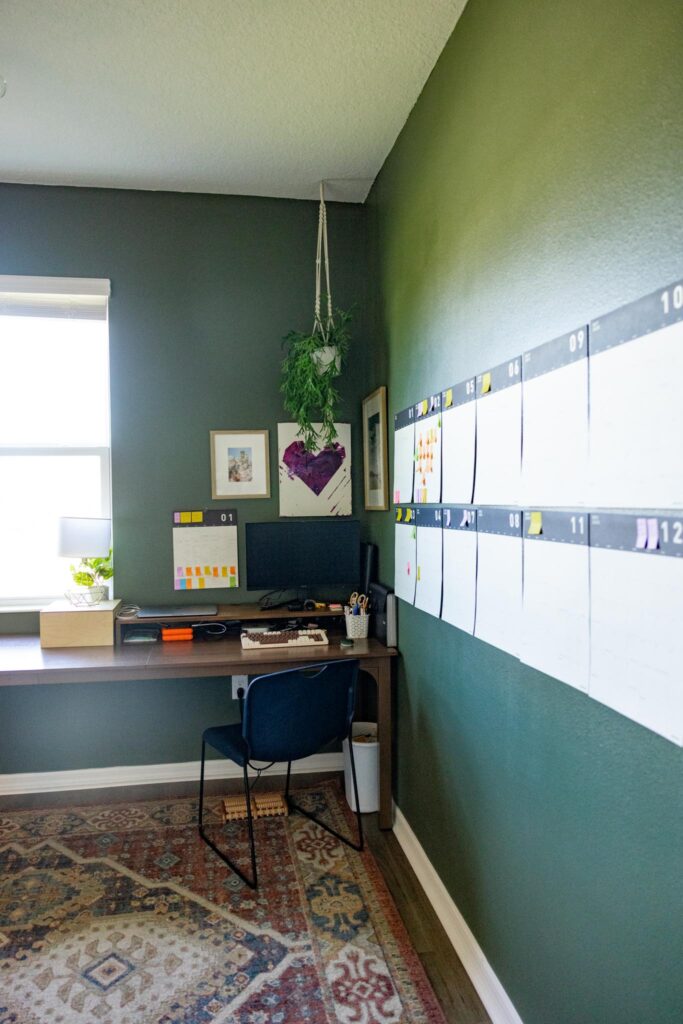
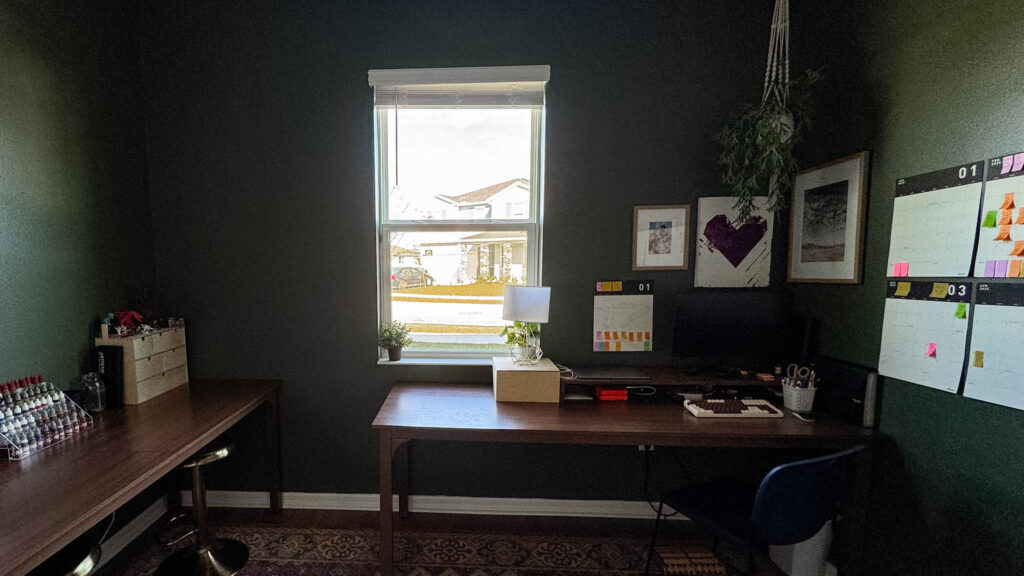
To help meet this cozier, moody study vibe, I wanted a darker color to set the tone in the room.
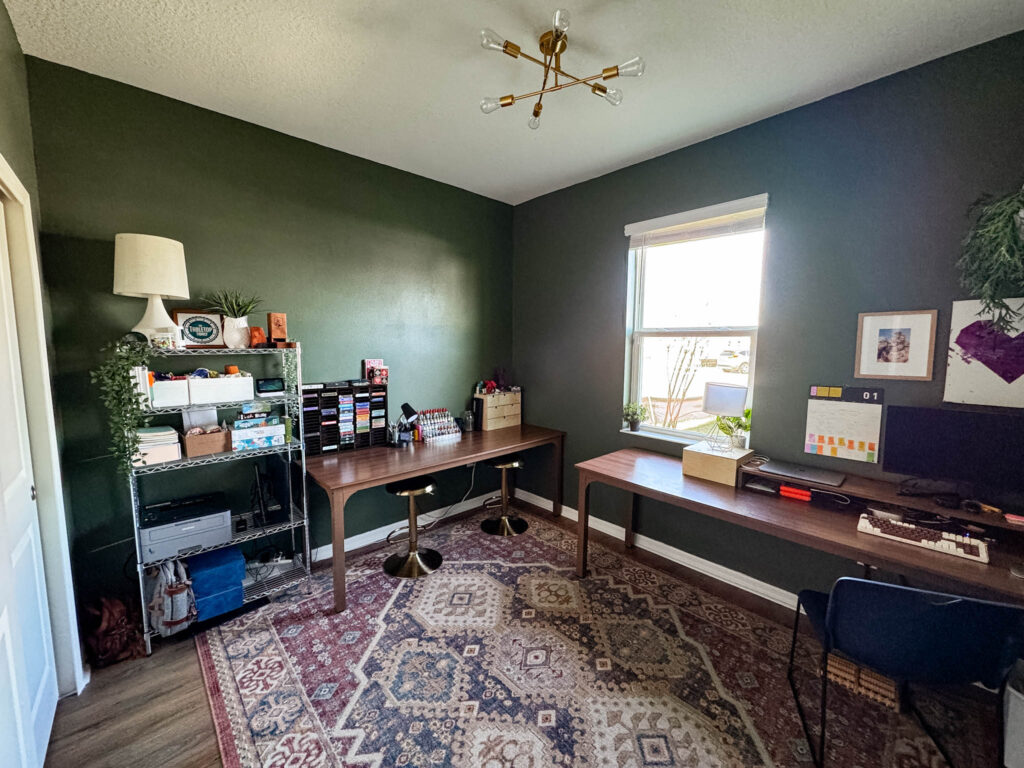
PAINT: SW ROSEMARY SATIN / DESK / LAMP similar / CALENDAR / PICTURE FRAME / KEYBOARD / MONITOR STAND (DIY) SIMILAR / CHAIR similar / BAR STOOLS / CARD ORGANIZER similar / CEILING LIGHT / WIRE SHELVES / AREA RUG /
I almost went with the green I selected for our built-ins in the last house, but that color felt a little too blue for what I was going for in here.
Instead, I opted for the incredibly gorgeous color Rosemary from Sherwin Williams and I’m seriously in love with it!
It feels earthy and old in the best way. The photos don’t quite capture just how much bigger it makes the room feel, too!
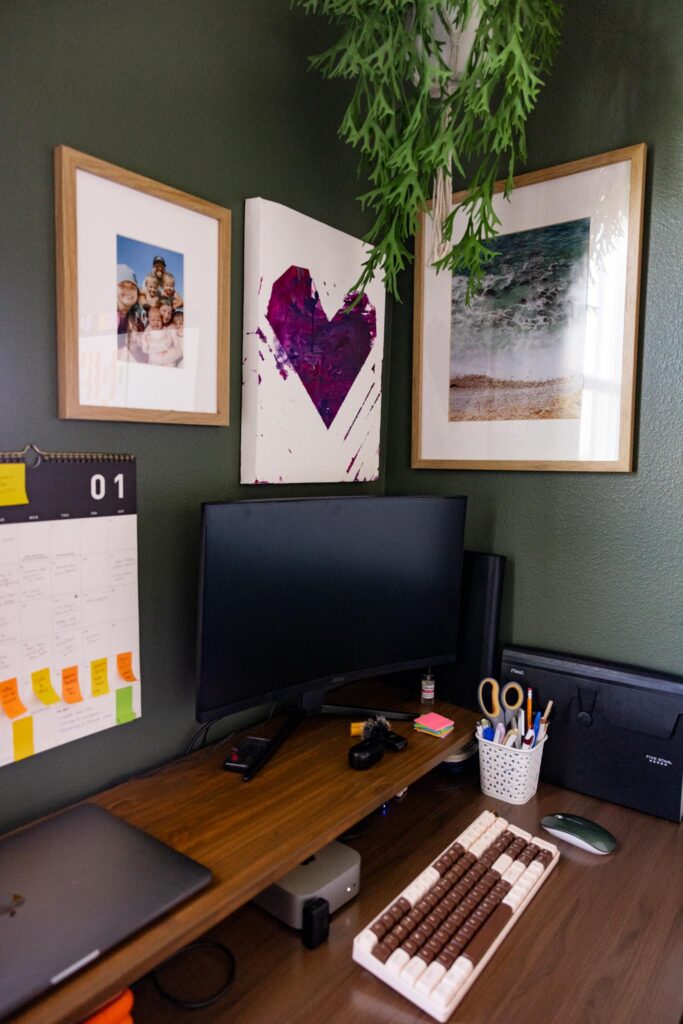
PAINT: SW ROSEMARY SATIN / DESK / CALENDAR / PICTURE FRAMES / HEART CANVAS (DIY) / WIRELESS KEYBOARD / WIRELESS MOUSE / MONITOR STAND (DIY) SIMILAR / CHAIR similar / FOOT MASSAGER / AREA RUG / PLANT HANGER
All the wood tones pop off the wall and the room feels warm and inviting.
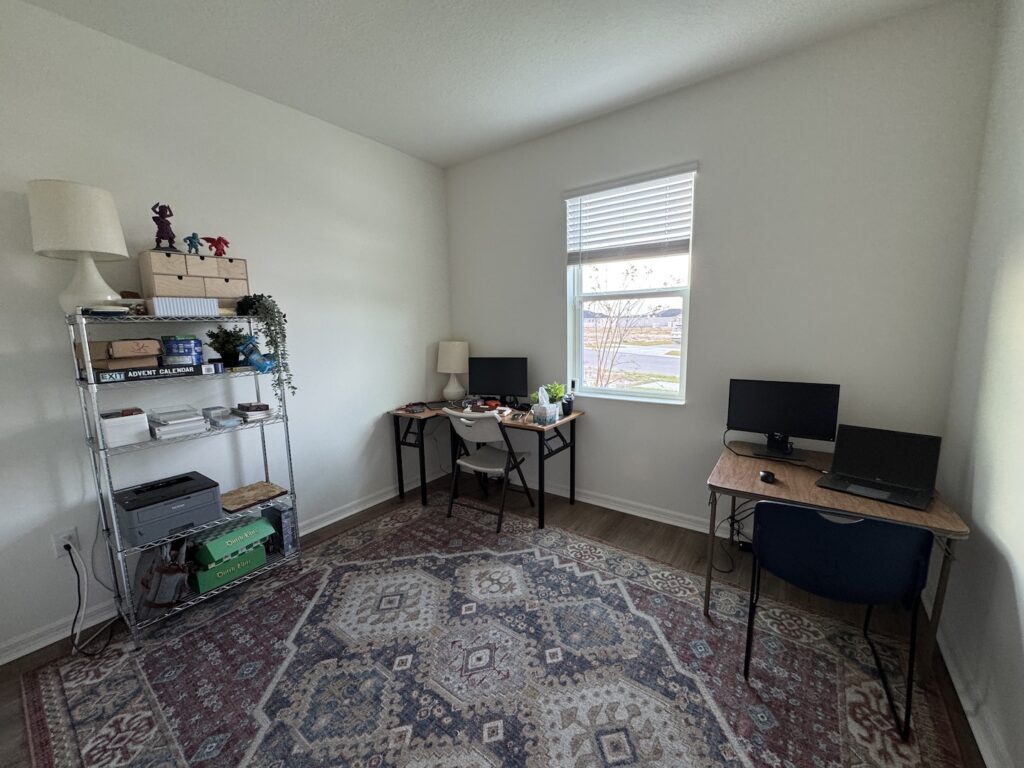
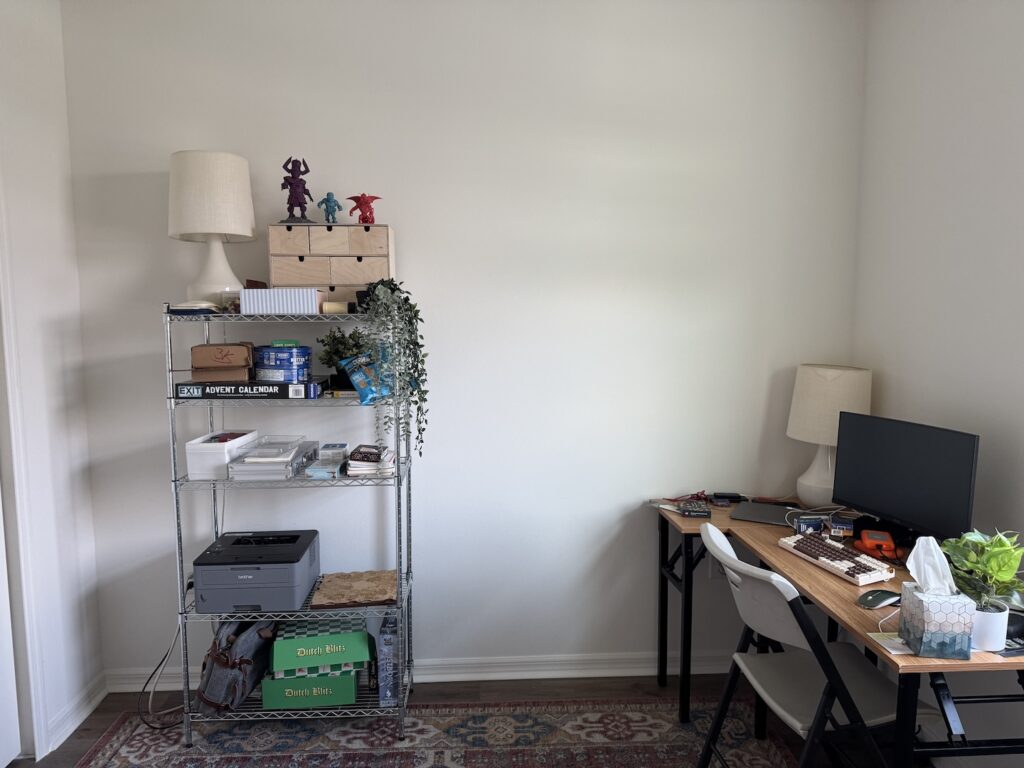
We knew we needed to get a couple of desks in here for work areas. Since I wasn’t 100% sure how I wanted everything to bet set up, I went with two of these longer, skinny tables that we can move and rearrange easily if we need to.
They were really affordable and well built of the price. Since they’ll largely be used for painting projects I didn’t want anything that would break the bank.
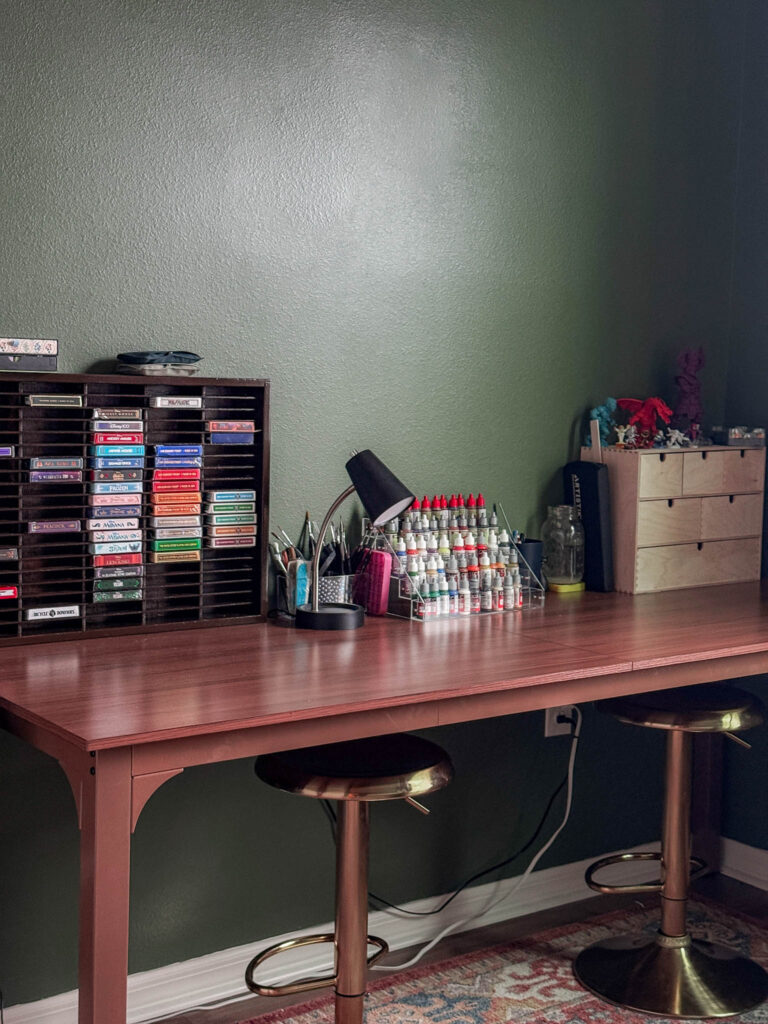
Speaking of, this room finally gives us the space to set out all of our miniature painting supplies and we are SO excited. Especially the kids. Now they can escape in here to paint a mini or two and don’t have to spend 30 minutes setting everything up and tearing it all down.

PAINT: SW ROSEMARY SATIN / DESK / BAR STOOLS / CARD ORGANIZER similar / ACRYLIC PAINT STAND & PAINT BRUSH HOLDER / WOODEN DRAWERS / MARVEL UNITED game 1 – game 2 – game 3 – game 4
This acrylic stand was perfect for holding all of our paints. I also like this brush holder too which makes it easy to see all of the brushes and get the one you need.
Right now we’re using this Ikea desktop drawer box to hold all of the miniatures. It’s not ideal, but it works for us. Eventually I think I’d like to get some shelves on the wall so the kids can see their miniatures displayed.
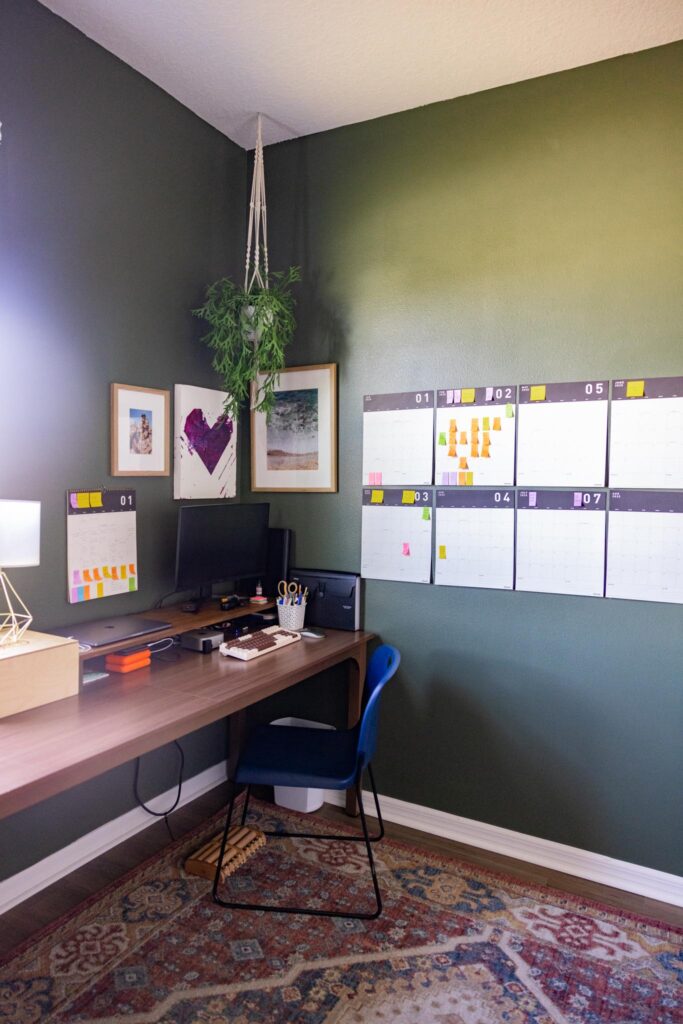
PAINT: SW ROSEMARY SATIN / DESK / CALENDAR / PICTURE FRAMES / HEART CANVAS (DIY) / KEYBOARD /
MONITOR STAND (DIY) SIMILAR / CHAIR similar / PLANT HANGER / AREA RUG
I also want to figure out a nice feature for above the painting desk. I keep going back and forth between open shelves, cabinets, or just a big art piece. I’ll have to think on it more.
One thing we haven’t gotten around to updating yet is the shelving. Right now I’m just using one of our old pantry shelves our board games were formerly on. It’s not pretty, but it gets the job done for now.
Which I guess is just a good reminder that not everything needs to be finished for you to celebrate a room’s progress. Too many social media transformations make us think that we have to dive deep into the budget and do it all overnight, but that’s simply just not the case.
Rooms are always evolving and changing, and home takes time. That’s how it should be.
If you enjoyed this post on a Moody Office Makeover, then you may also enjoy:
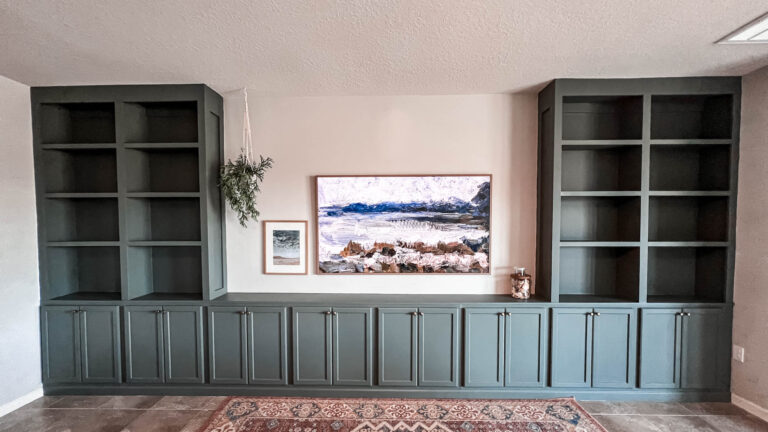
The Living Room Built-Ins
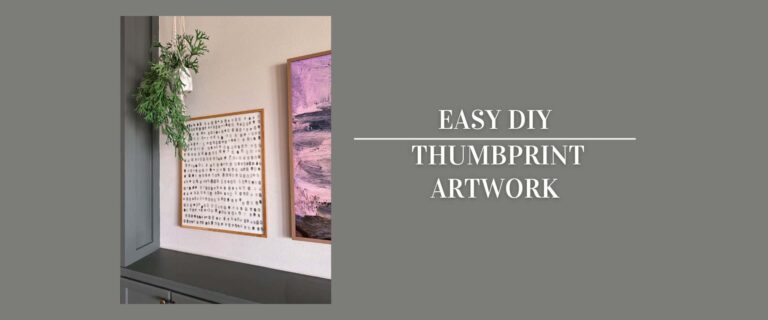
Family Thumbprint Art DIY
Designing our Coffee Gaming Table