This is my favorite DIY to date!
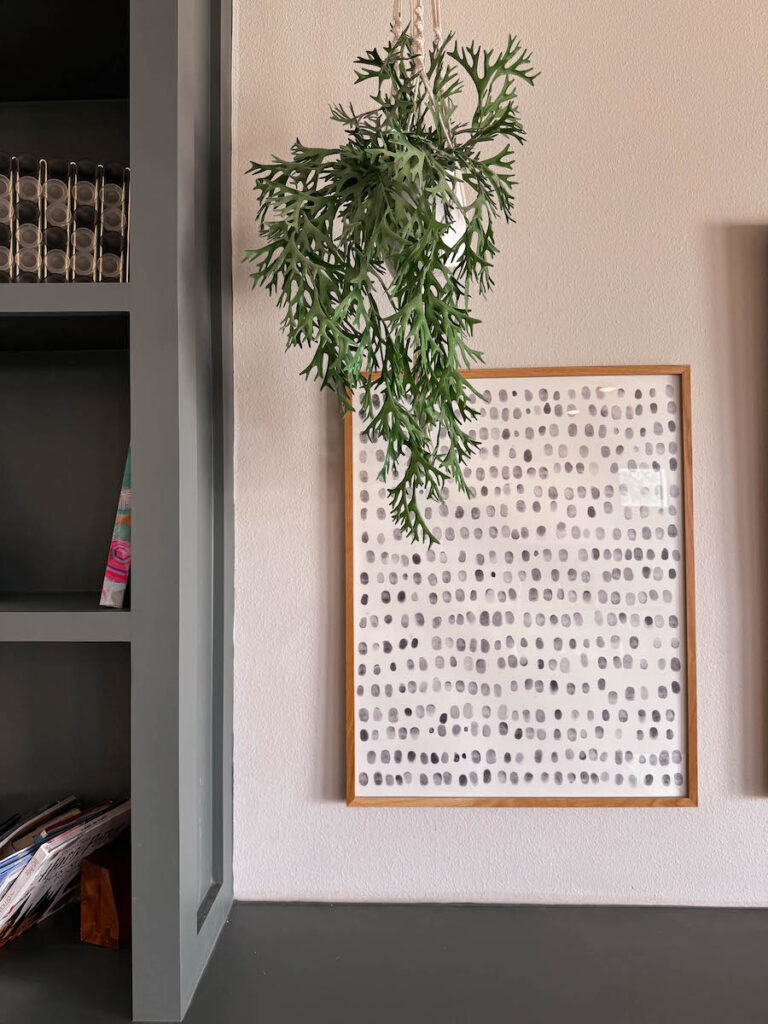
This Family Thumbprint Art is so simple yet has an incredible impact when finished.
This began like many DIYs do — I saw something in the store and thought “I could make that myself!”
I had seen this cute black and white print in Target and a few other places over the past few years and thought it had an interesting quality about it that always drew my eyes.
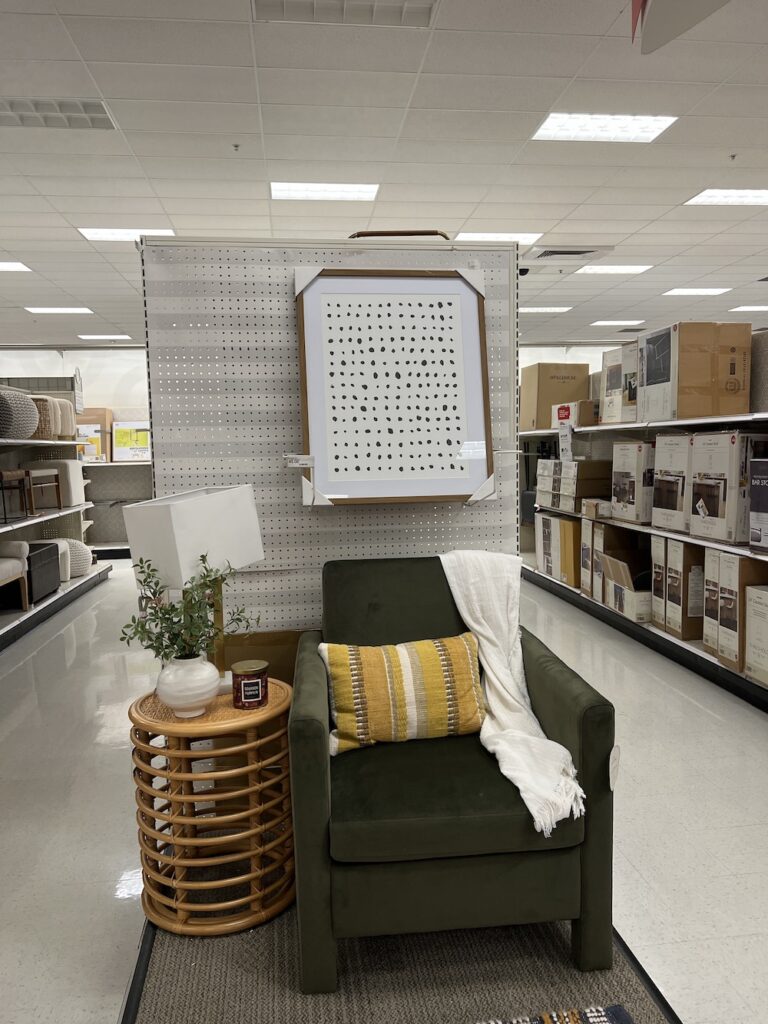
Sometimes you can’t put your finger on it but for whatever reason, I decided I liked it and would like to have something similar in our home.
I’m big on making sure that most of the art in the house has a special meaning to us. I want there to be something that is uniquely us about the pieces.
What better way than to recreate it in our own way but this time with our thumbprints!
We had just had baby Greta so I thought this would be the perfect way to capture this moment in time when she and all her siblings are still so little.
It’ll be something we treasure for years to come!
DIY Family Thumbprint Art Supplies
To create your own DIY Family Thumbprint Art, all you need is:
Poster board (or any size paper)
Ink in your chosen color(s) — I used black
Painter’s tape
Picture frame for finished piece
It’s also helpful to have some sort of a towel or wipe nearby for the ink.
Double check your poster board and make sure that you are using the paper-y side and not the shiny side. That way the ink doesn’t smudge.
Once you’re ready, grab your painters tape and tape the poster board onto the wall. Trust me on this one, we tried doing this on the table and it was absolute chaos.
Taping it onto the wall helps it stay in place and gives everyone a better angle to add their thumb prints.
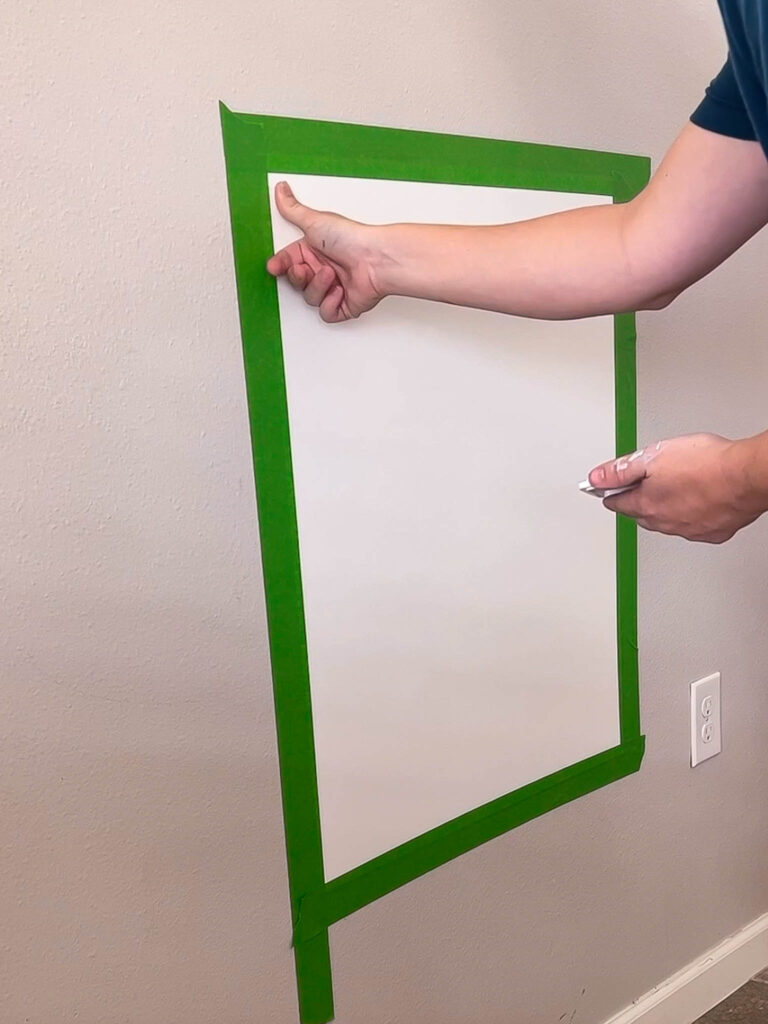
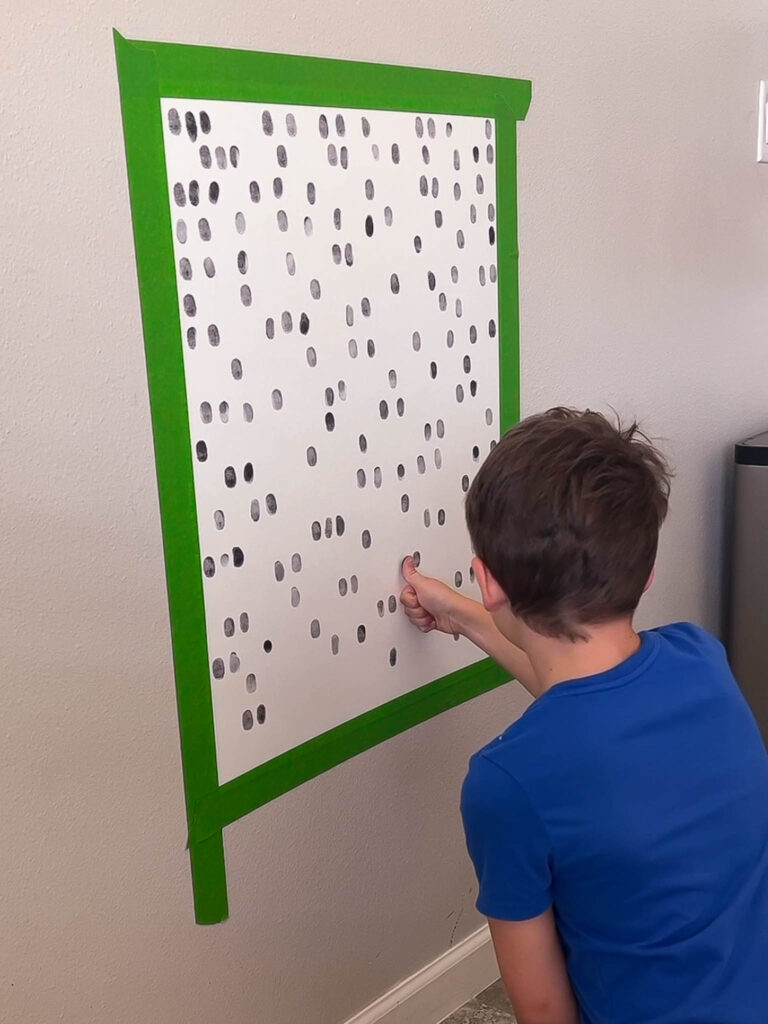
Before I invited everyone over to do their prints I did mine first so I could create the lines and everyone else could fill them in.
I marked lightly on the tape where I wanted each line for the thumbprints to go, but for the most part, I just eyeballed it. It was okay to me if the lines weren’t perfectly straight. Sometimes too perfect looks off.
I recommend having a piece of paper nearby so that when you ink your thumb, you can first do a test print on the paper which will help keep your first thumbprint from being too stark of a contrast. I got about 4-6 thumbprints on the paper before needing to re-ink and they gradually lighten which makes a cool gradient look.
I tried to change up where I started inking the paper so that it wasn’t darker on one side and lighter on the other, but you can play around with it to create your own unique look.
Once I had the general lines drawn, I brought each family member over one at a time and helped them add their thumbprints scattered around each line.
I didn’t want there to be too much order but I left one spot down in the bottom corner so that we could put our thumbprints in birth order. It’s the only spot where that happens so it acts as our signature of sorts.
It only took about 20-30 minutes to have everyone ink their thumbs on the page, then I removed it and taped it up for the rest of the day to make sure the ink dried completely.
Before framing it I made sure to take some good pictures and scans of the piece just in case anything ever happens to it that would require us to reprint in the future.
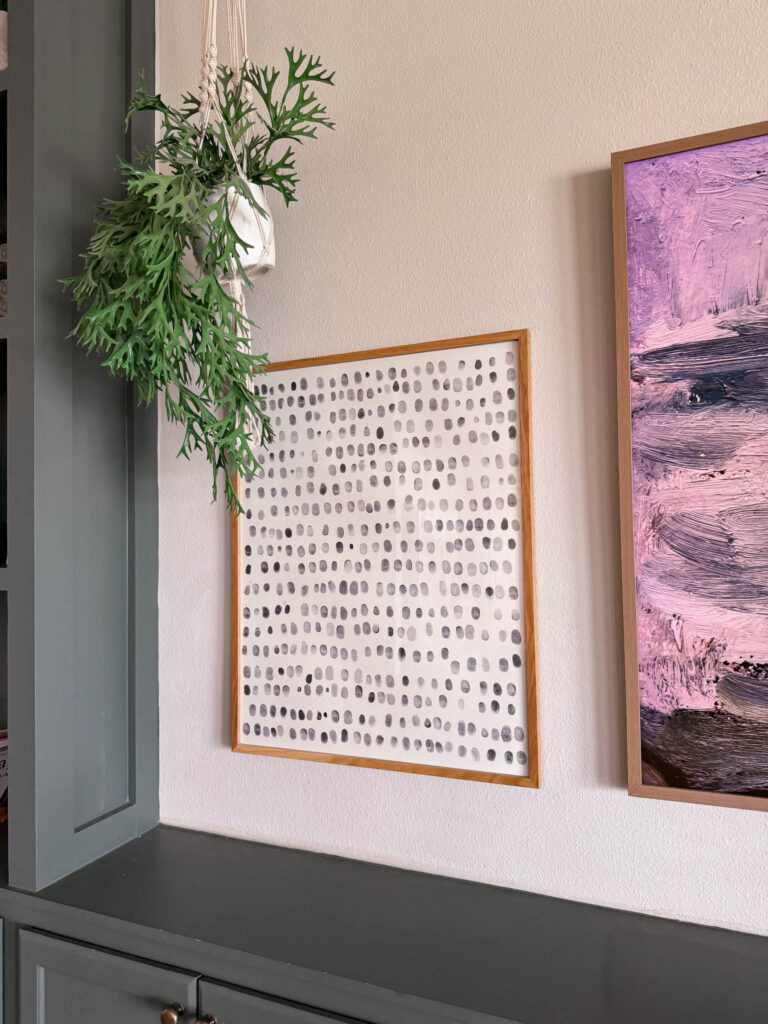
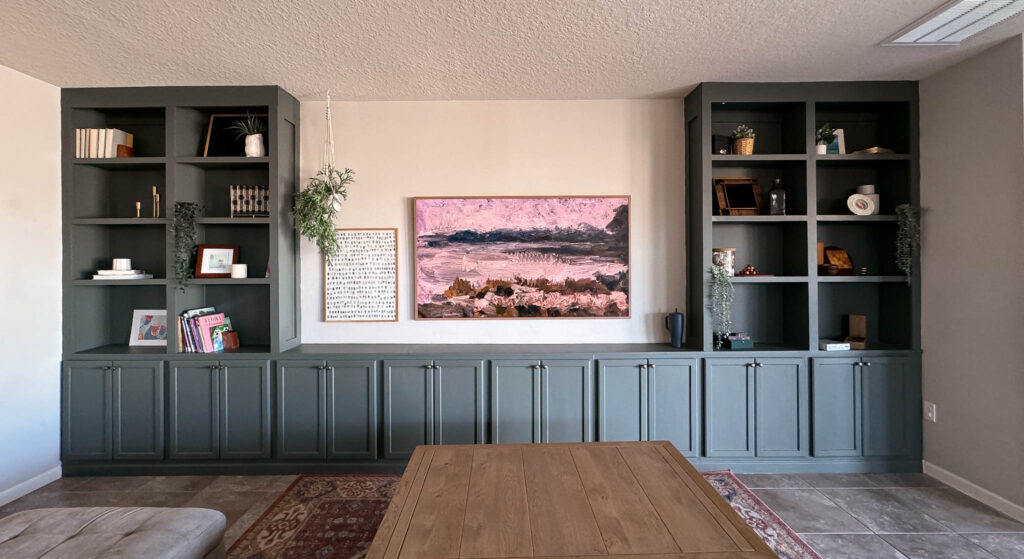
I ordered this wooden frame that matched our others in the house and added it to our living room wall! It looks like it was always meant to be with our beautiful built-ins that we completed last year and has instantly become my favorite piece in the house!
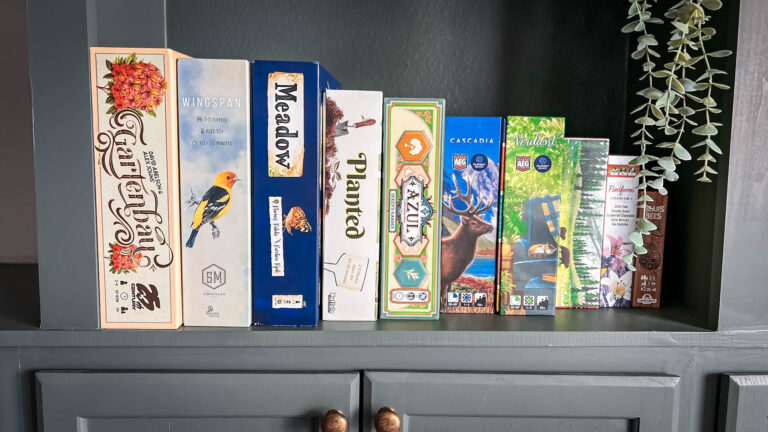
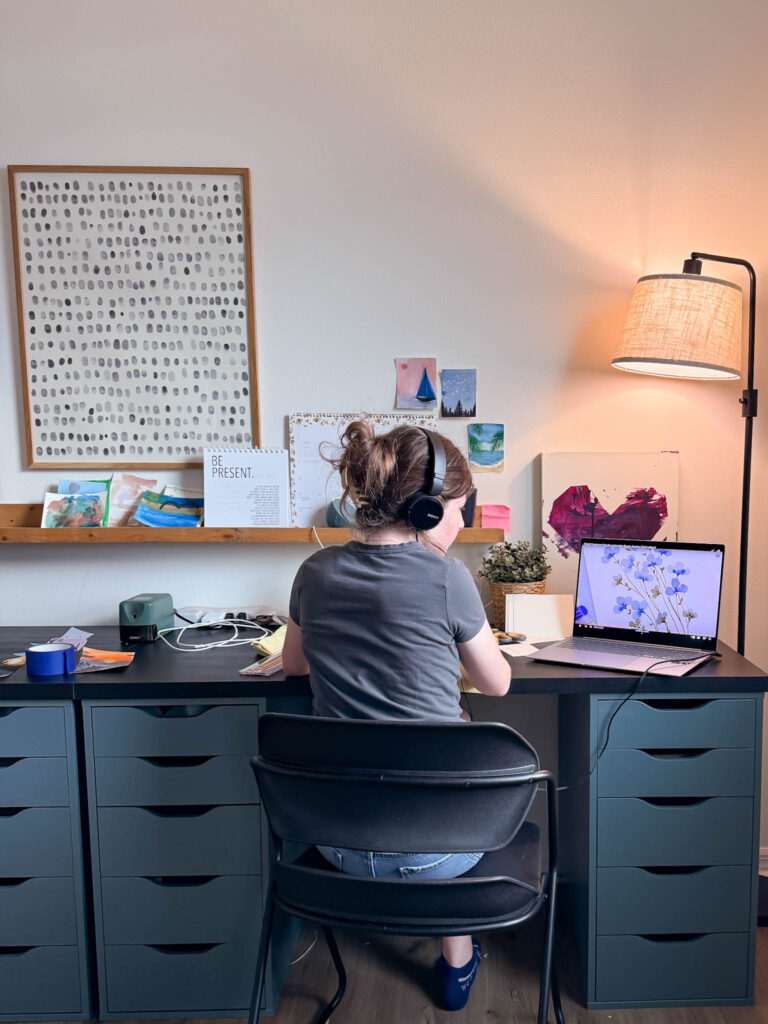
And after moving into our new home, it was the first piece of art that I wanted to find a spot for. We made this cozy little study area of our game and school room and it feels like the heart of the whole space.
We get tons of complements on it any time we have visitors and I love that it’s something we all made together.
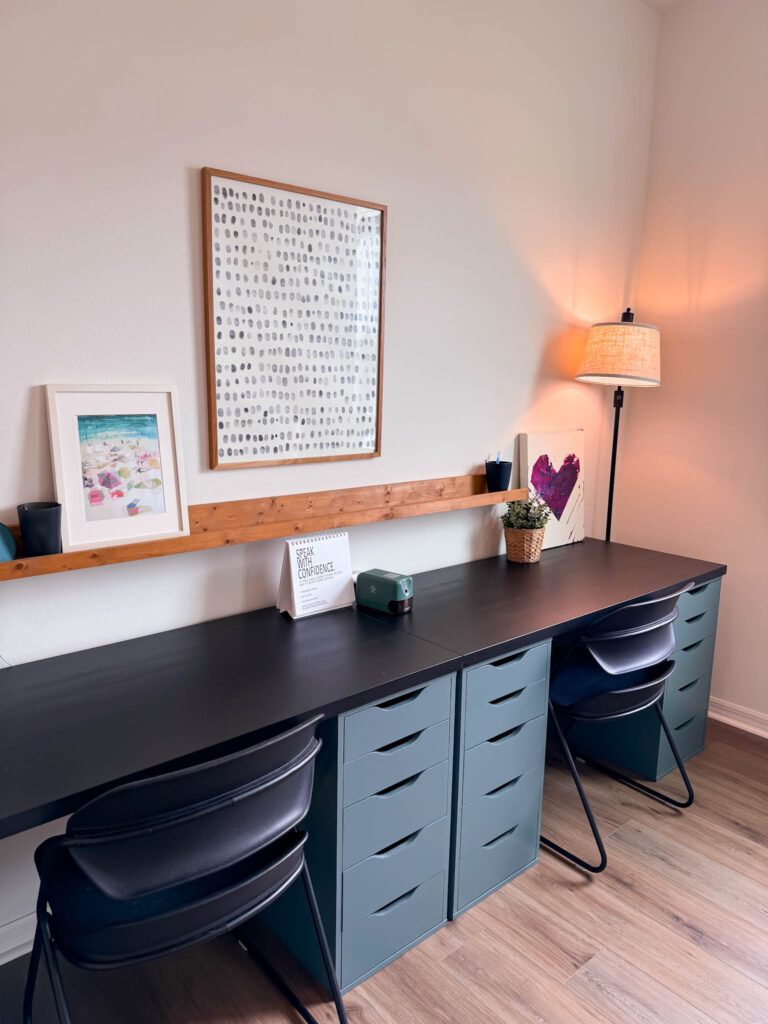
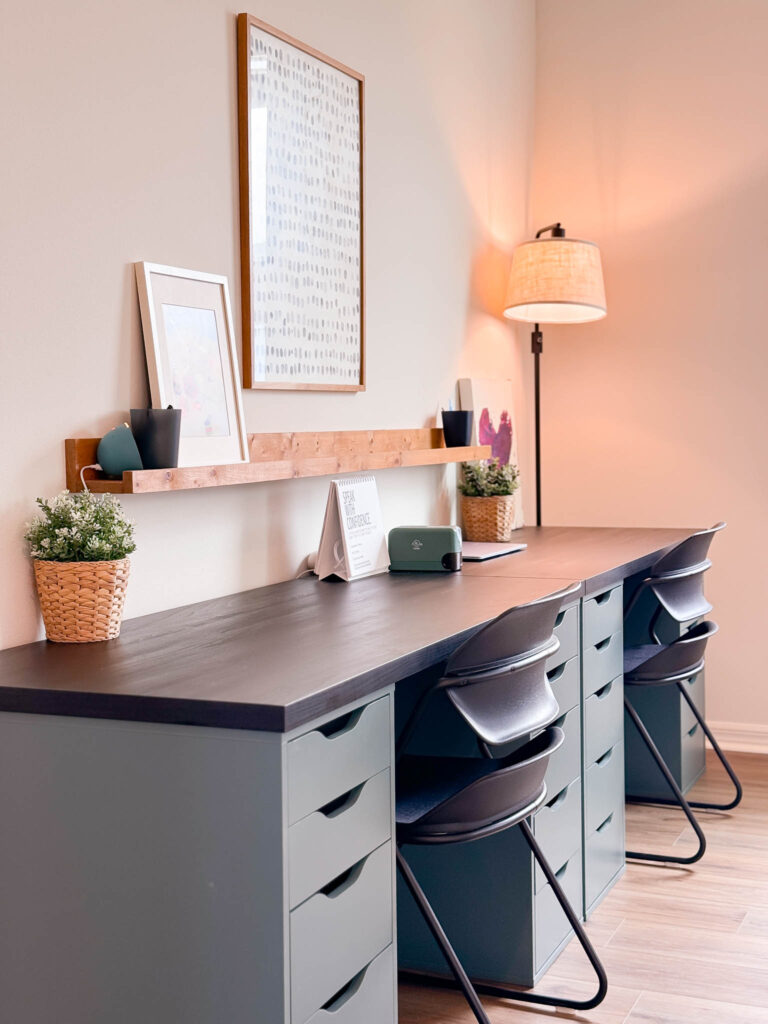
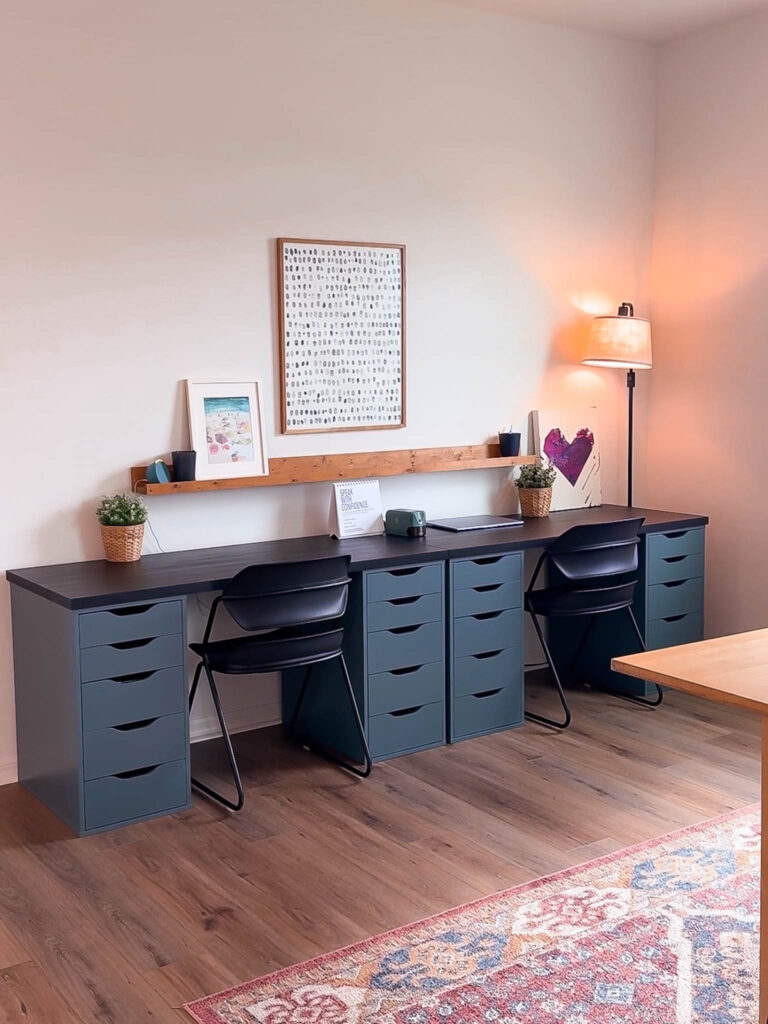
Since sharing our artwork on Instagram, I’ve heard from so many of you that have recreated it with your own families, given as grandparent gifts, family reunions, and even brought the supplies to weddings for guests to sign! I couldn’t love that more!
If you enjoyed this post on how to make a DIY Family Thumbprint Art, you may also like:
Tips for Hosting Game Night
Board Games for Kids by Age
Building our Living Room Built-ins

