Unlock your creativity by making one idea your own—with the medium you love most
Ever see a cute craft idea and think, I’d love to make that—but I don’t sew? Or maybe I can sew, but I’d rather paint or use my glue gun! The good news? There’s no one right way to be creative.
In this post, we’re taking one simple project idea and showing you how to make it three different ways—so you can choose the technique that feels right for you. Sew it, paint it, glue it… it’s your craft, your rules.
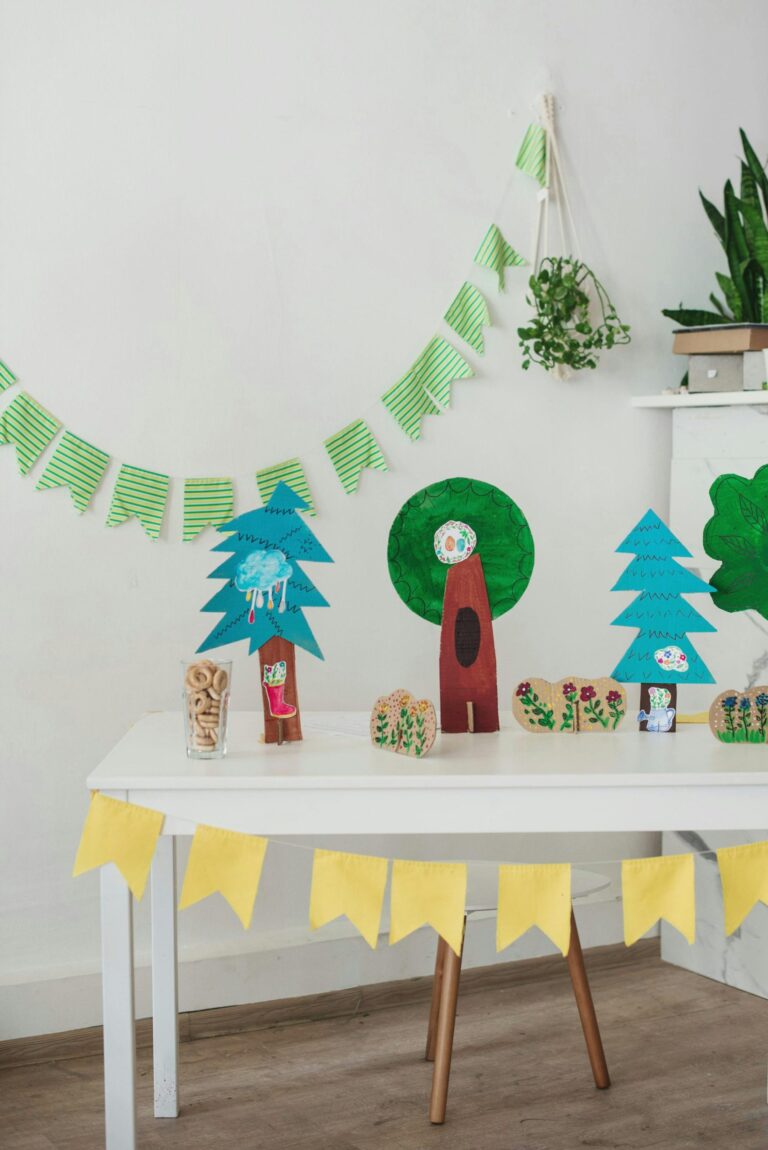
Project Theme: DIY Fabric Wall Banner
Think of a wall banner as the grown-up version of a classroom pennant—only with your own handmade twist. Use it to display an inspirational word, seasonal motif, or your child’s name. The base design stays the same—but how you bring it to life is totally up to you.
✂️ Option 1: Sew It (For the Stitch-Lovers)
Add texture and lasting charm with thread and fabric
Materials:
- Canvas or linen fabric
- Iron-on interfacing (optional for stiffness)
- Needle and thread or sewing machine
- Felt or fabric scraps for letters/shapes
- Wooden dowel and string for hanging
Instructions:
- Cut your fabric into a banner shape (try a triangle, swallowtail, or rounded bottom).
- Hem the edges or use pinking shears to prevent fraying.
- Sew on your felt letters, shapes, or embellishments.
- Fold over the top edge and sew a casing for your dowel.
- Insert the dowel and attach a string for hanging.
Why we love it: heirloom quality + great way to use fabric scraps
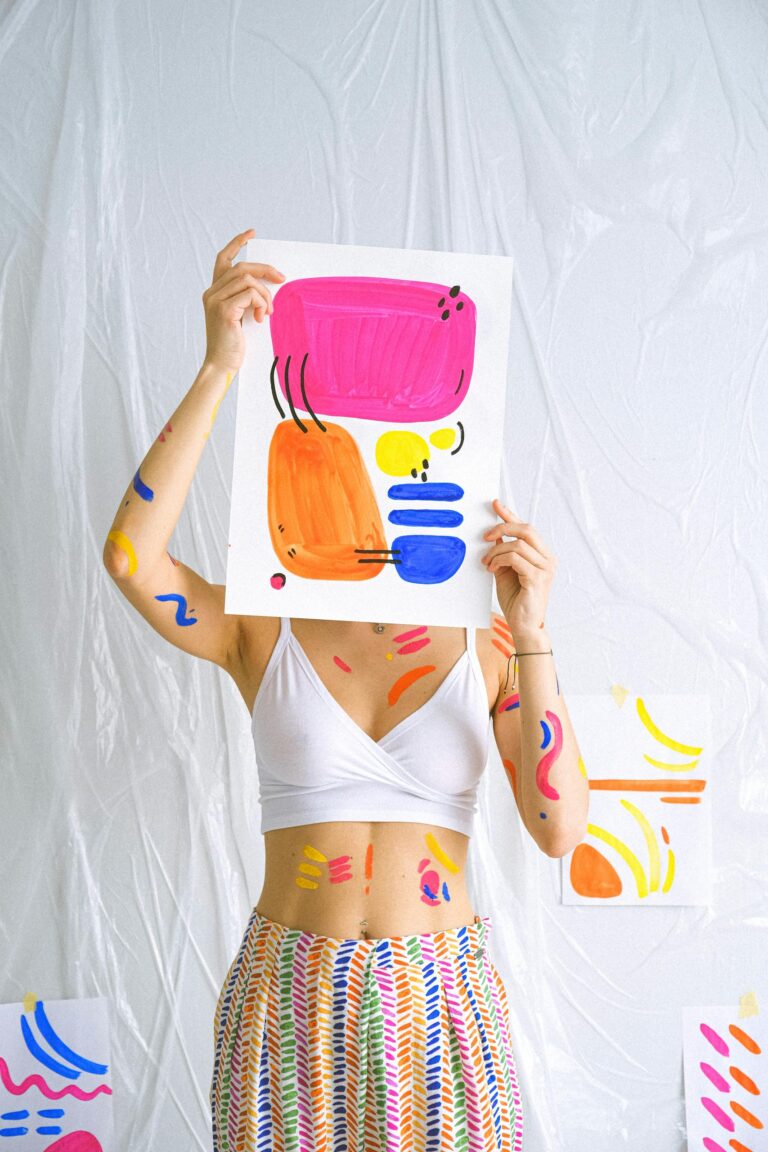
? Option 2: Paint It (For the Brush-Happy Creatives)
Create bold or detailed designs without picking up a needle
Materials:
- Blank canvas banner or stiff fabric
- Acrylic or fabric paint
- Paintbrushes or stencils
- Pencil or chalk for sketching
- Dowel and twine for hanging
Instructions:
- Sketch your design lightly on the banner fabric.
- Use paint to fill in letters, patterns, or art.
- Let dry completely, then heat-set if needed (follow paint instructions).
- Add your dowel and twine to display.
Why we love it: fast, colorful, and completely customizable
? Option 3: Glue It (For the Quick and Cozy DIYer)
Skip the sewing and painting—just cut, place, and glue
Materials:
- Stiff felt or craft foam as your base
- Felt letters or shapes (pre-cut or DIY)
- Hot glue gun or tacky glue
- Ribbon or twine
- Dowel or stick for hanging
Instructions:
- Cut your base into a banner shape.
- Arrange your letters or shapes on top—think names, stars, or hearts.
- Glue everything down securely.
- Attach ribbon to the top corners and tie to a stick or dowel.
Why we love it: kid-friendly, no drying time, no sewing required
✨ Make It Yours
No matter which method you choose, the beauty of this project is in the personalization. Try:
- A child’s name for a bedroom door
- An encouraging word for your workspace
- A holiday message for seasonal decorating
Which version would you try first—sew, paint, or glue?
Let me know in the comments! Or better yet—try all three with different designs. Tag your creations with #SewItPaintItGlueIt so we can see your unique twist.